Studio Calico Walden Kits!

When these Walden kits arrived at my doorstep, I was in the midst of the usual craziness. Jack isn't walking yet, but since my dad and his wife were in town, he has been pushing around a motorbike-walker-thing like crazy. And now it seems like he's running. Thankfully, I carved out some time to make some of my favorite layouts using photos of my favorite guy. These kits are really awesome and make me realize that I am truly obsessed with leaves. Here's how a couple layouts came together using only the Scrapbook kit.amy tangerine + studio calicoamy tangerine + studio calicoamy tangerine + studio calicoamy tangerine + studio calicoamy tangerine + studio calicoamy tangerine studio calicoamy tangerine + studio calicoamy tangerine studio calico
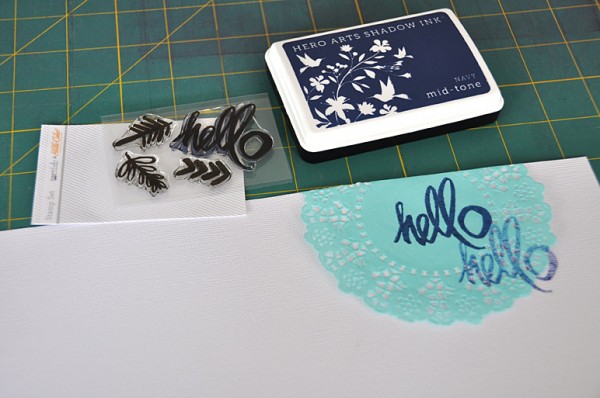
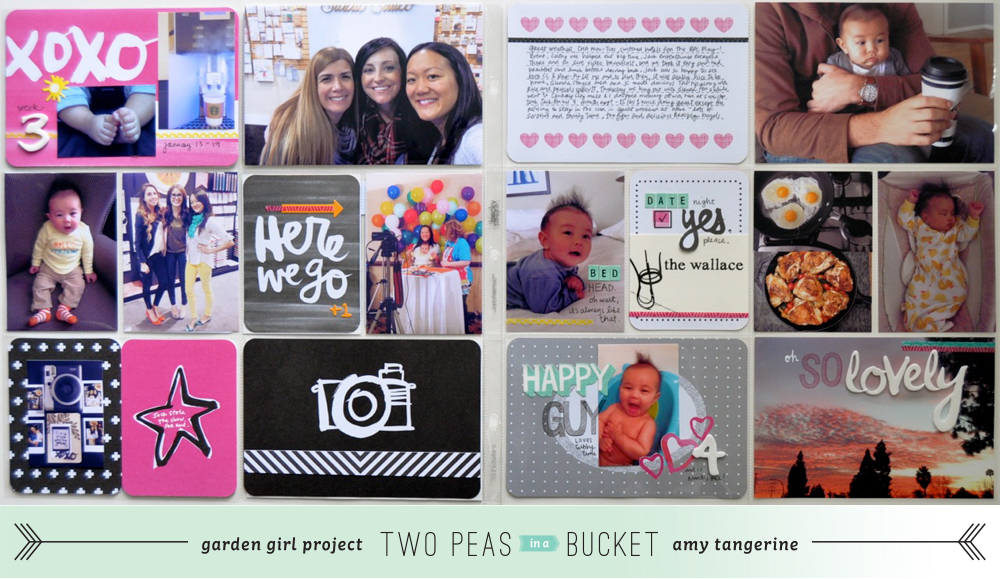
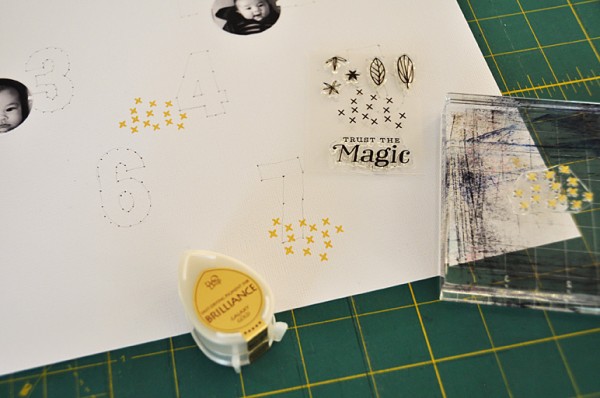
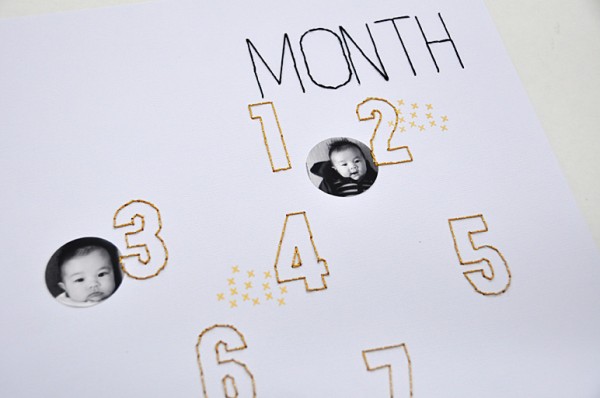
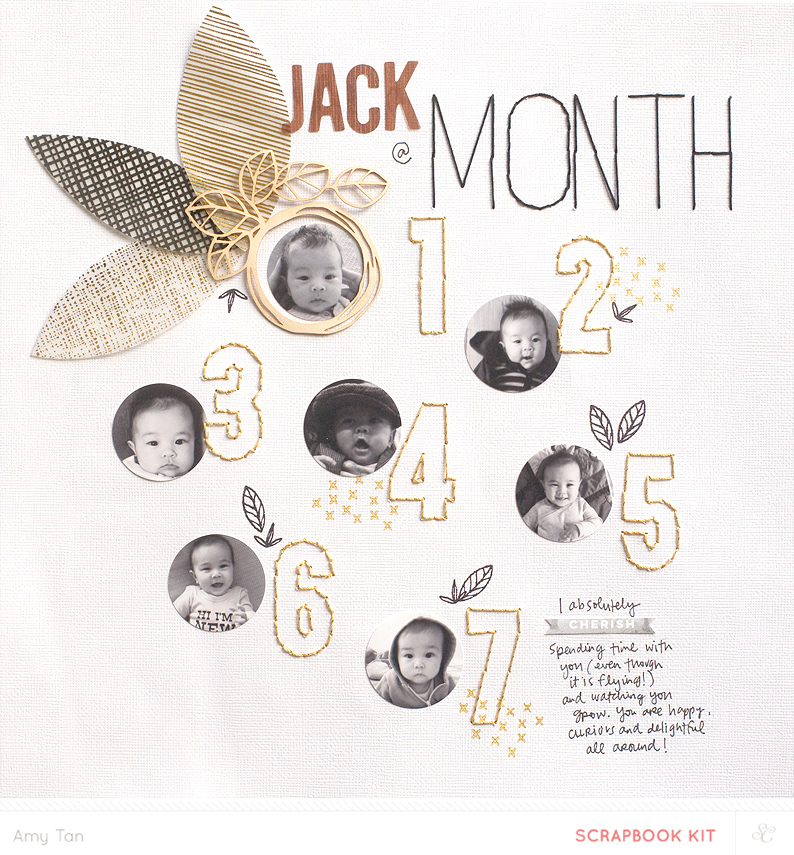
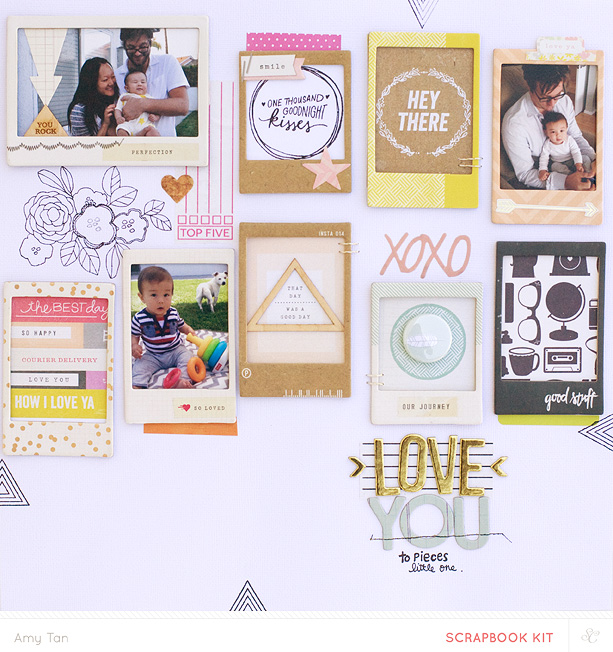
Using the Concord and Baker Bridge add-ons (these leaves are so beautiful, I want 10 packs), I used black and white photos for this neutral page of Jack's early months. I stitched the numbers with my Comrade embroidery kit and kept the photos & numbers as the focus of the page against the white. If I were to only get 1 add-on this month, it would definitely be a toss up between Concord and Baker Bridge.amy tangerine + studio calicoamy tangerine + studio calicoamy tangerine + studio calicoamy tangerine studio calico
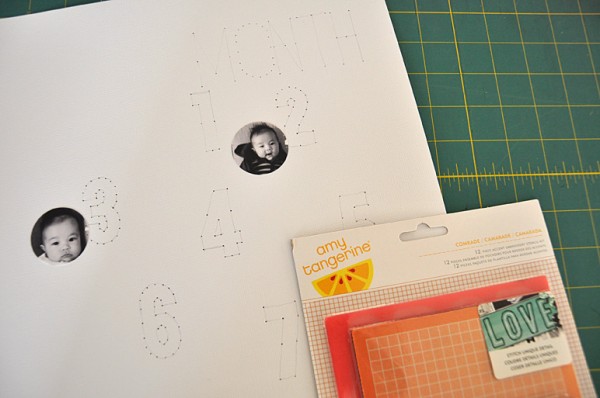
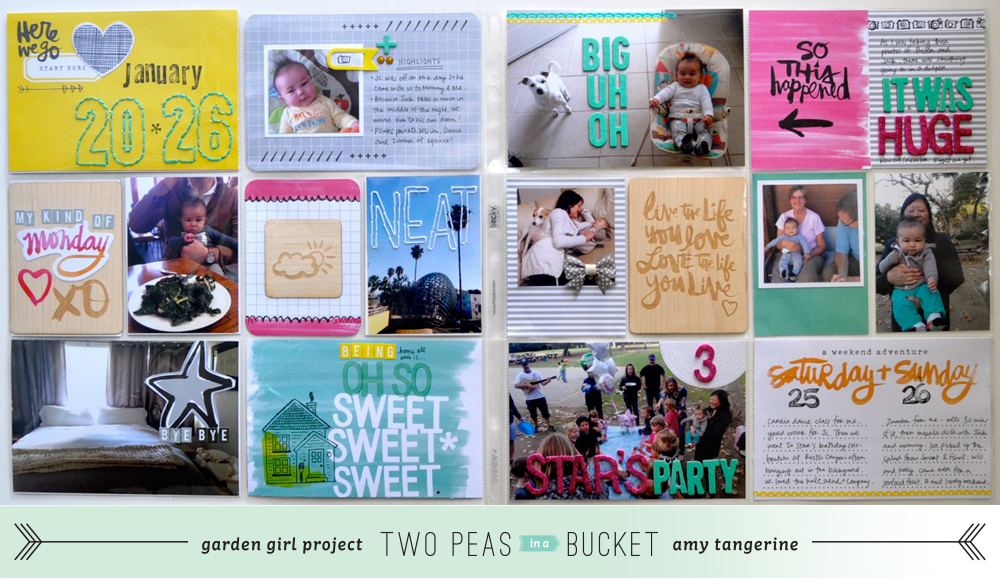
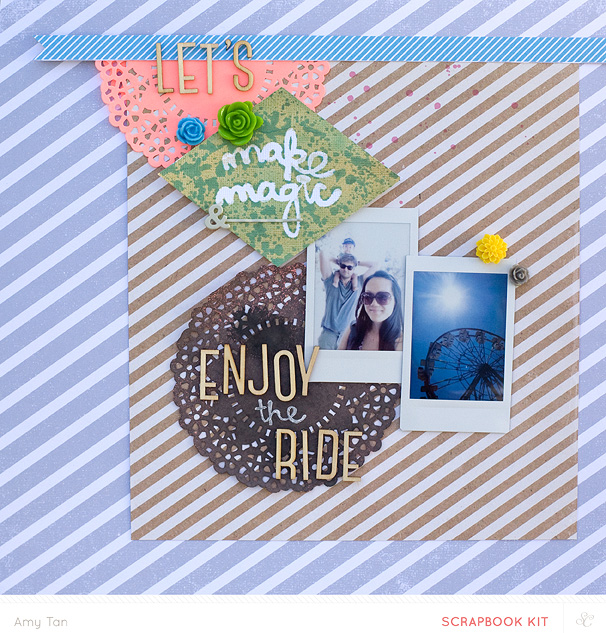
And last but not least, using only the Concord kit, I wanted to make a layout for my mom's birthday.amy tangerine studio calico
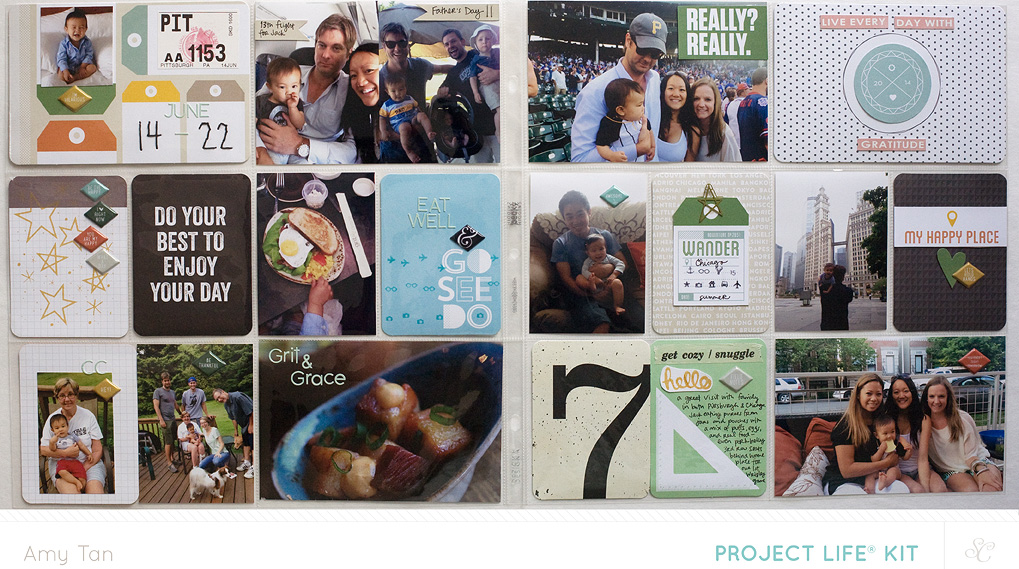
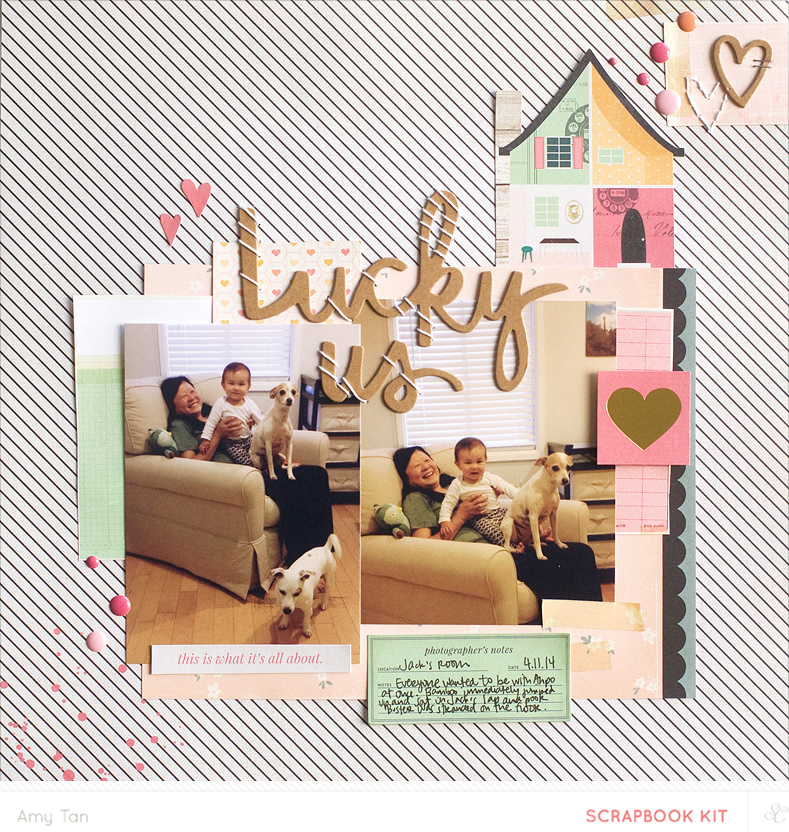
For this Project Life spread, I used the Walden kit along with photos and memorabilia to tell most of the story. If I felt the need to do more journaling, I would probably do so on a card and just slide it into one of the pockets. For now, this feels like the perfect balance of photos + product to me. Not to mention faces, food, and fun things.amy tangerine studio calico
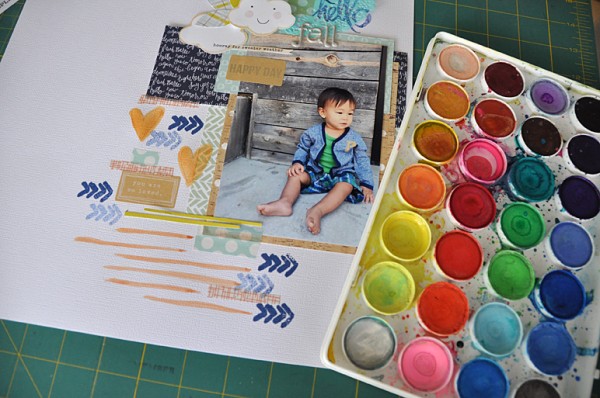
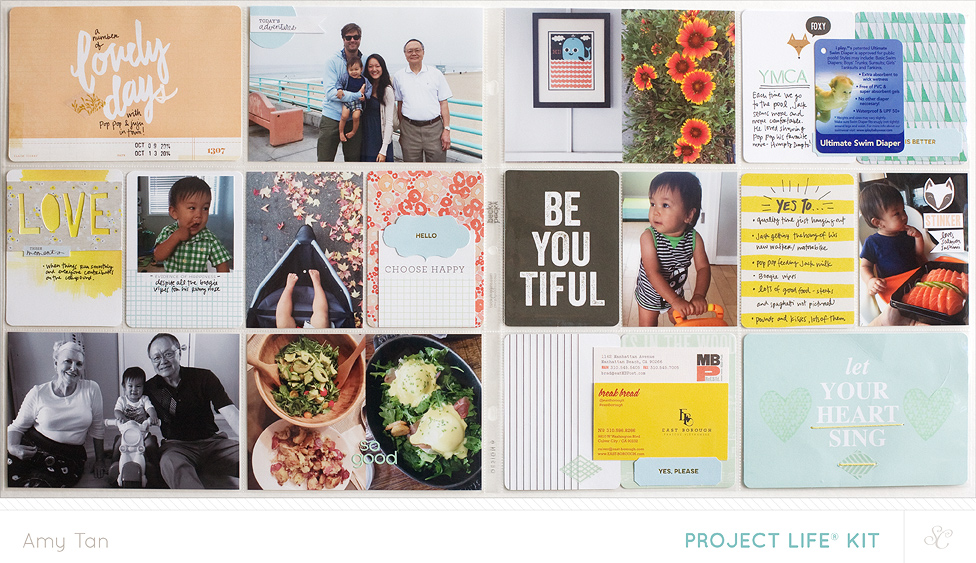
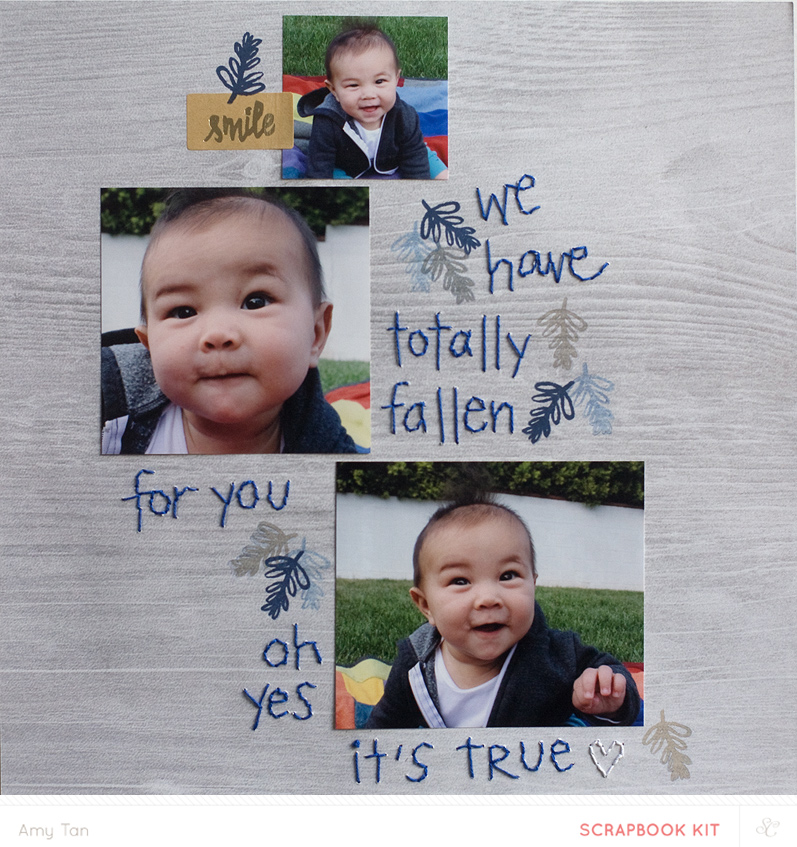
It's starting to feel a little like fall around here, and apparently on my layouts too. There's a leaf on every single project except for one. You can shop for all Walden kits here and see all my projects here.

Keep in mind that subscribers can shop the pre-sale each month at noon EST on the 27th. Others need to wait until the clock strikes midnight tonight. Become a subscriber and get in on all the benefits and rewards that Studio Calico has to offer!

Studio Calico - The Underground kits

Every month when I receive my latest Studio Calico kits, the first thing I do is smile. Then I open up the scrapbook kit. It's full of unique items that always inspire me to make pages right away. The wooden letters in this kit pair perfectly with the neutral patterned papers. Love how they pop with the white cardstock and a bit of black machine stitching! For the other main kit only layout, I decided to step out of my comfort zone a little bit and get messy. Mixing in random colors and using things I normally wouldn't have, it turned out to be a fun creative exercise. Instead of just staring at it, I used the make magic silk screen. Because I got excited when I read that you could use watercolors with it, I tried that first with a turquoise color. When I peeled it back, there were a lot of spots that were too light. So I did another layer with the 24 Karat paint from Piccadilly. I like the spotted effect that made me think I actually successfully made a little magic. I used my Fujifilm Instax Share to print out a couple photos from our first fair as a family.After making the 2 layouts using only the main kit, I dive right into all the add-ons. I loved Piccadilly & Notting Hill. Usually I print my photos with Persnickety Prints, but when I occasionally print at home, I use my Epson XP-950 Wireless Color Photo Printer. It's great for printing from my iPhone, or from my computer. I laid out the photos I wanted to print from our Palm Springs adventure onto an 8.5x11 background. After trimming them down, I challenged myself to not use any cardstock for this layout. And the final layout I made with The Underground kits is possibly my favorite. I envisioned a full page of frames (from Piccadilly) with not only photos inside, but stamped images, embellishments and patterned paper. Here's how the spread of our trips to Pittsburgh and Chicago came together using The Underground Project Life kit along with the 24 Karat paint from Piccadilly. I'm really glad I went out of my comfort zone to silkscreen on paper. Though now that I think about it, my hesitation around trying this out was probably due to the fact that I get easily hooked on cool new techniques, especially when it's easy. As you can see, it's really easy and the results are really neat. Considering how much I love incorporating bits of color into my projects, this Color Theory acrylic bundle will probably be making its' way into the studio soon.

You can shop for all The Underground kits here and see all my projects here.

Keep in mind that subscribers can shop the pre-sale each month at noon EST on the 27th. Others need to wait until the clock strikes midnight tonight. Become a subscriber and get in on all the benefits and rewards that Studio Calico has to offer!

Studio Calico Poet Society kits

Can't believe another month has gone by and summer is about to come to an end. Jack will be turning 1 next month and I can hardly believe it. I used a lot of photos of him, some older, and some more recent. These Poet Society kit colors were versatile enough to use for any occasion, for boys or girls. Here's how this main kit only page came together. I first stamped on the patterned paper because I wanted the tags to have some lines. Then I cut them out and layered on more bits.IMG_1283 IMG_1284 IMG_1305 Used my Instax Share to print these little photos taken on my iPhone of Jack obsessing over finding his belly. For the title work, I wrote it out with pencil, poked holes and used a back-stitch with black thread. amy tangerine- studio calico
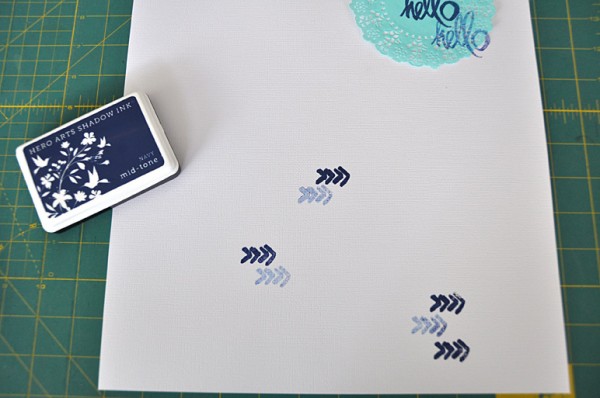
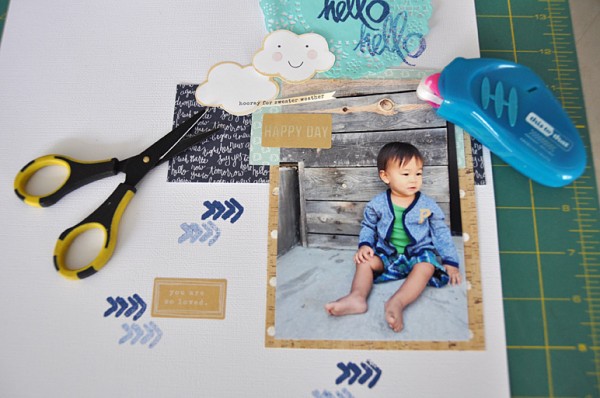
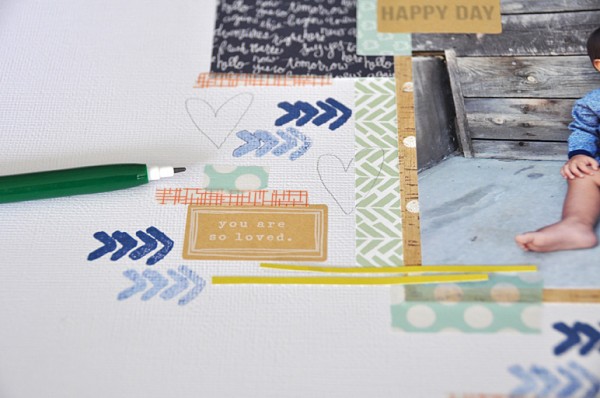
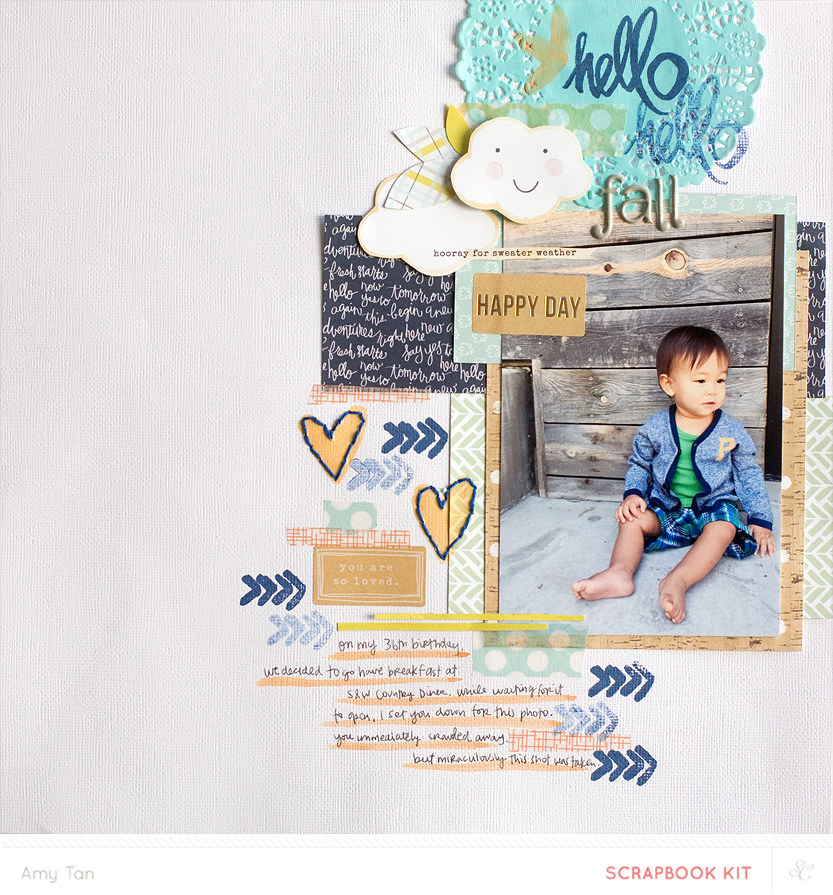
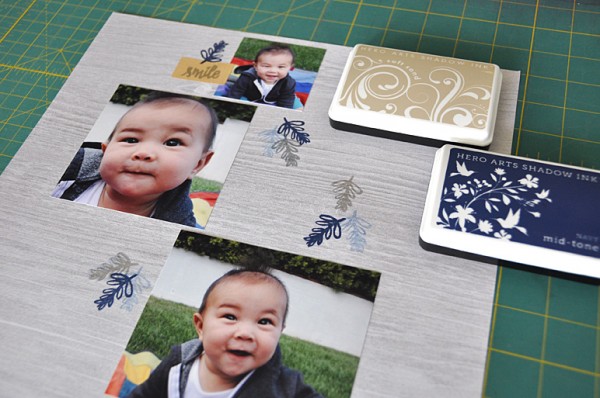
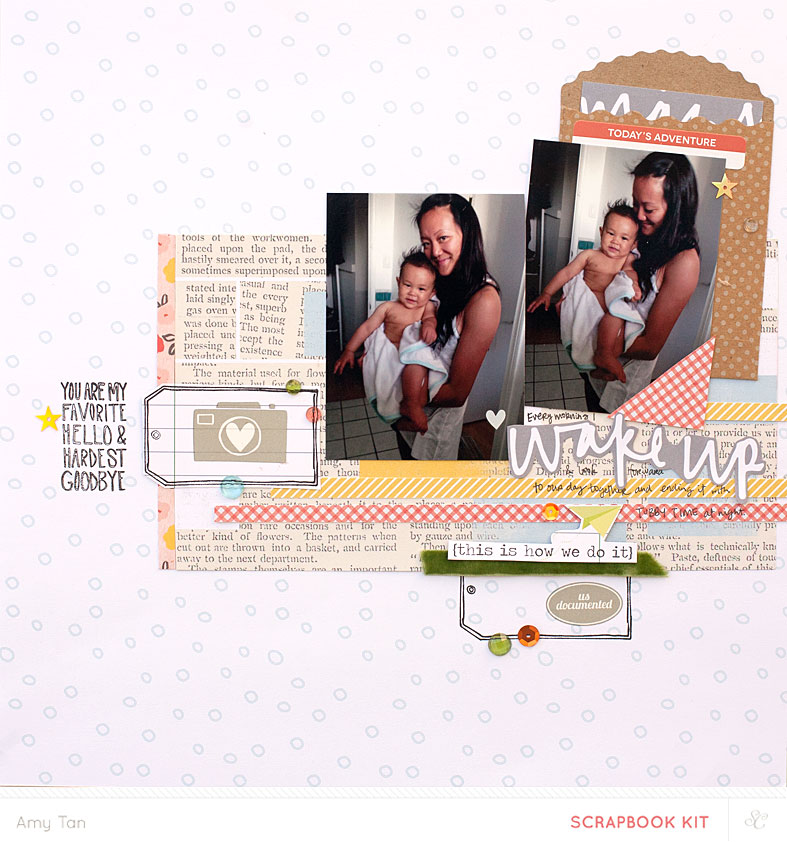
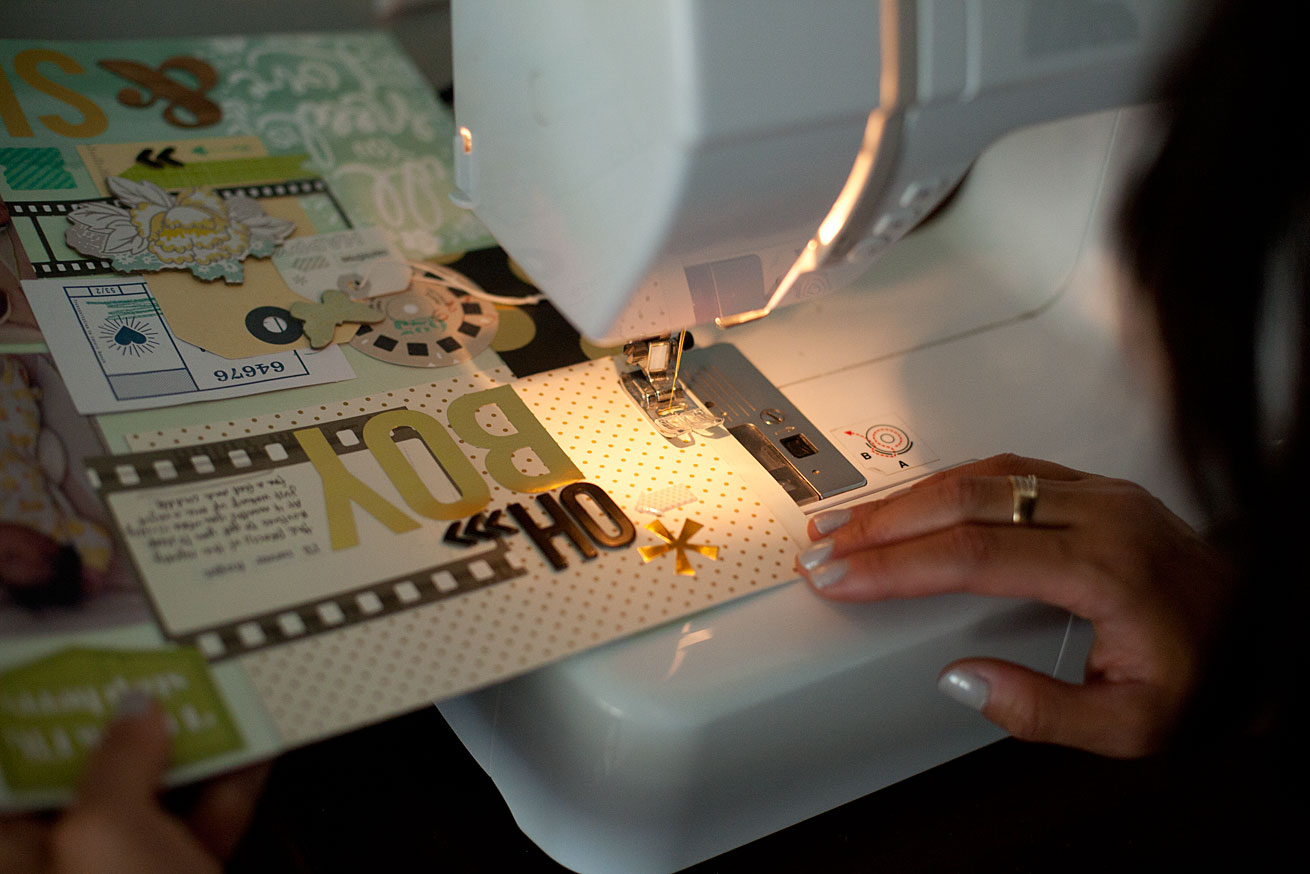
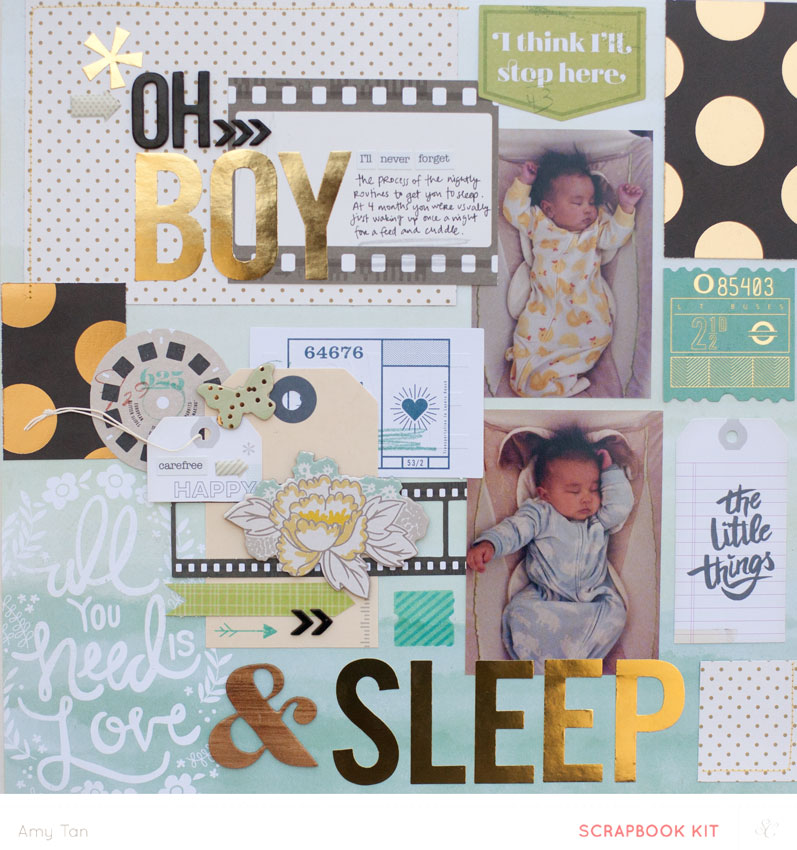
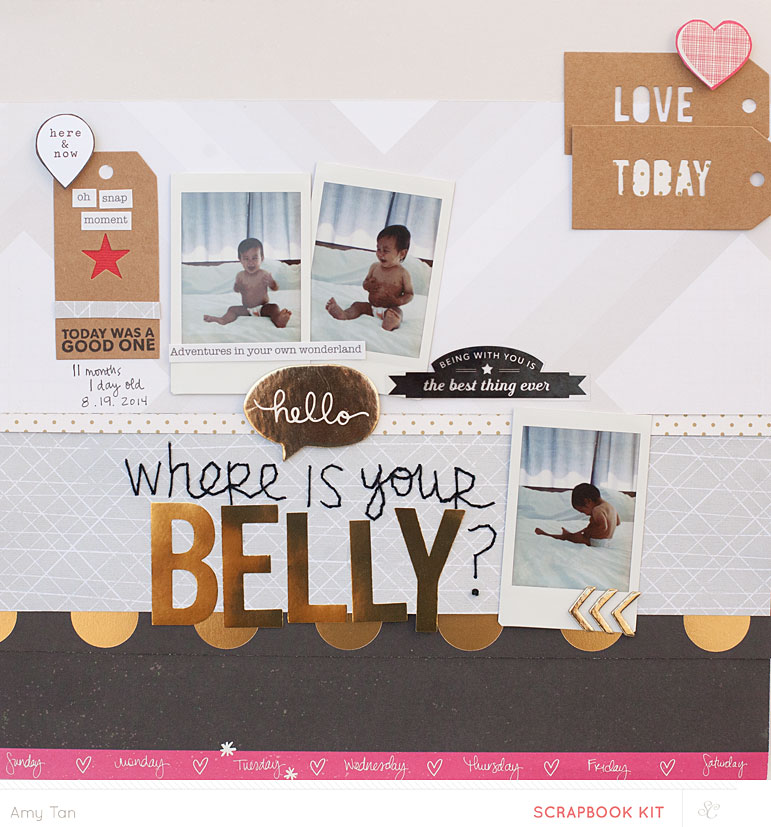
This layout using all the scrapbook add-on's was too fun to make. I created a collage using a bunch of different die cuts. Love how they all meshed together nicely. I added a little machine stitching to the top left corner and bottom right to tie it all together. And the shadow stamps in the Dickinson add-on are great for layering and adding just the right amount of detail. Please disregard my laziness when it comes to removing older stamps from the other side of the acrylic block.amy tangerine- studio calicoIMG_1297IMG_1299
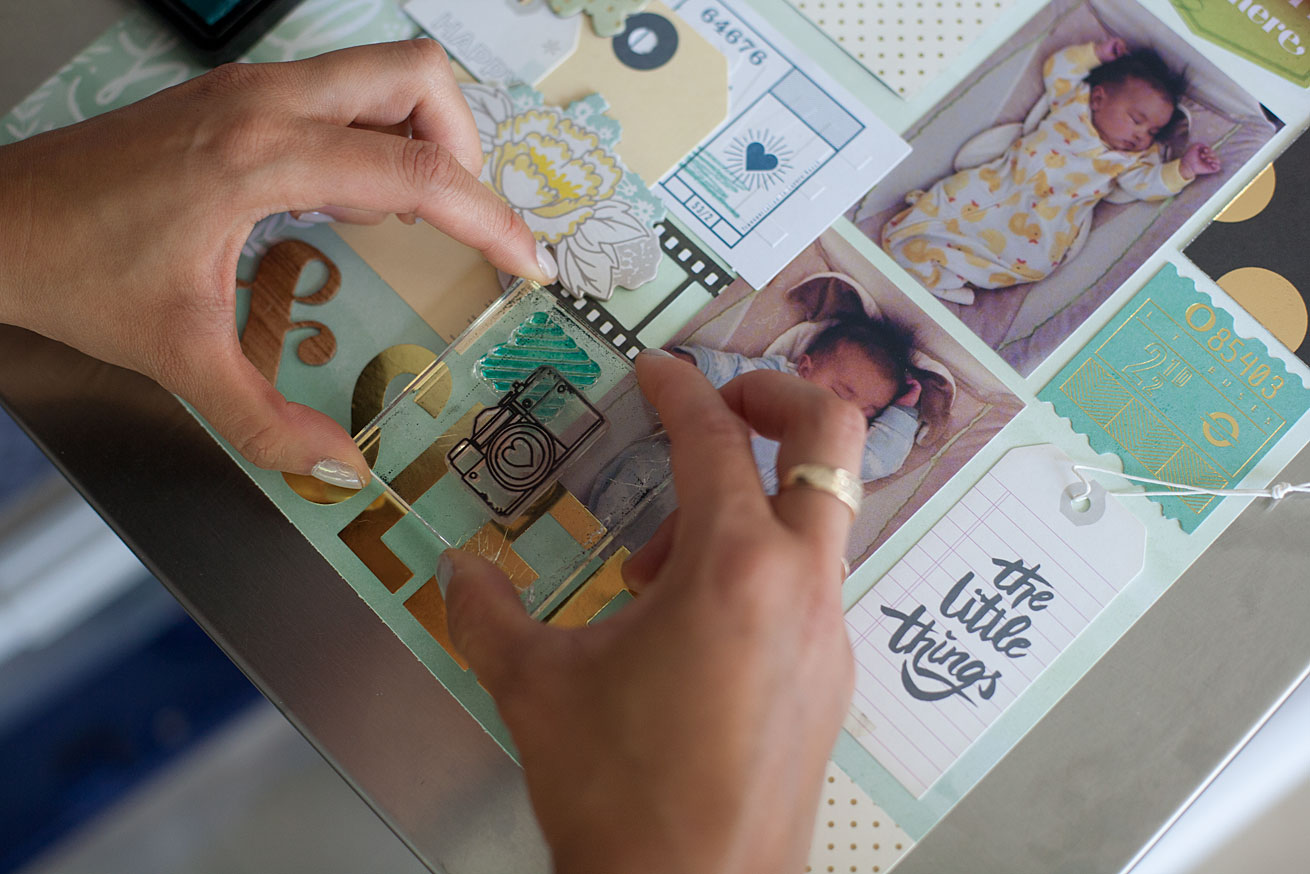
Still working on Courtney's wedding album and since I included so much of the bridal party, I thought it would be best to focus on the guys a bit. Well, one guy in particular, the groom. This layout used the main kit only and some Fiskars craft knife action. The photos were taken by Dustin Prickett from Sunglow Photography and you can see more of my BFF's wedding pictures here.amy tangerine- studio calico
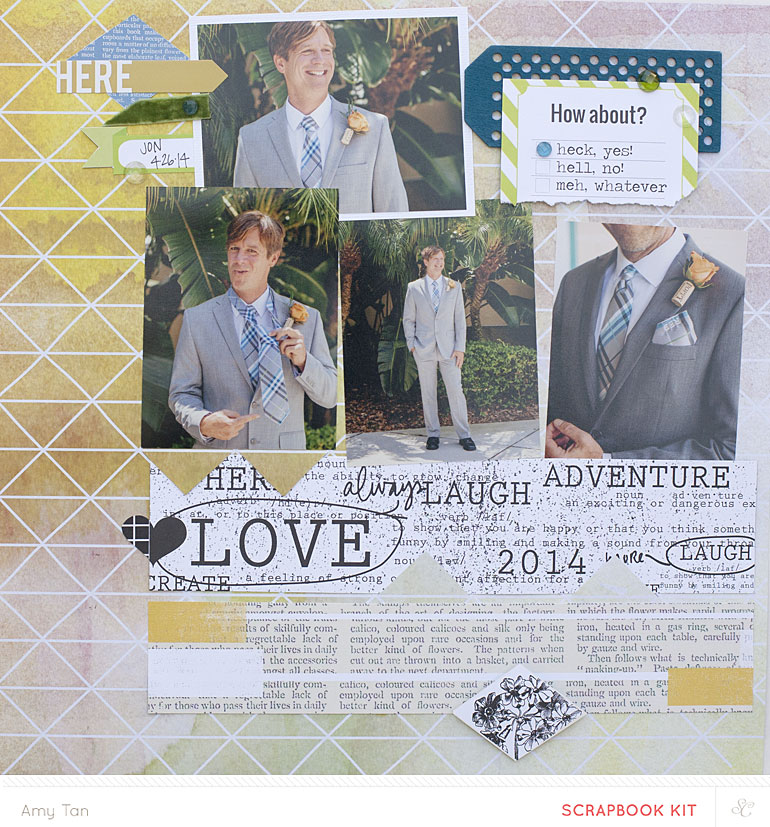
Using a mix of photos from my phone, I put together this spread using only the Project Life kit. I love how much the white Uniball pen - aka the ONLY white gel pen that you'll need - pops off of even the lightest shade of pink. I still enjoy putting some of the embellishments on the outside of the pockets as well. IMG_1301
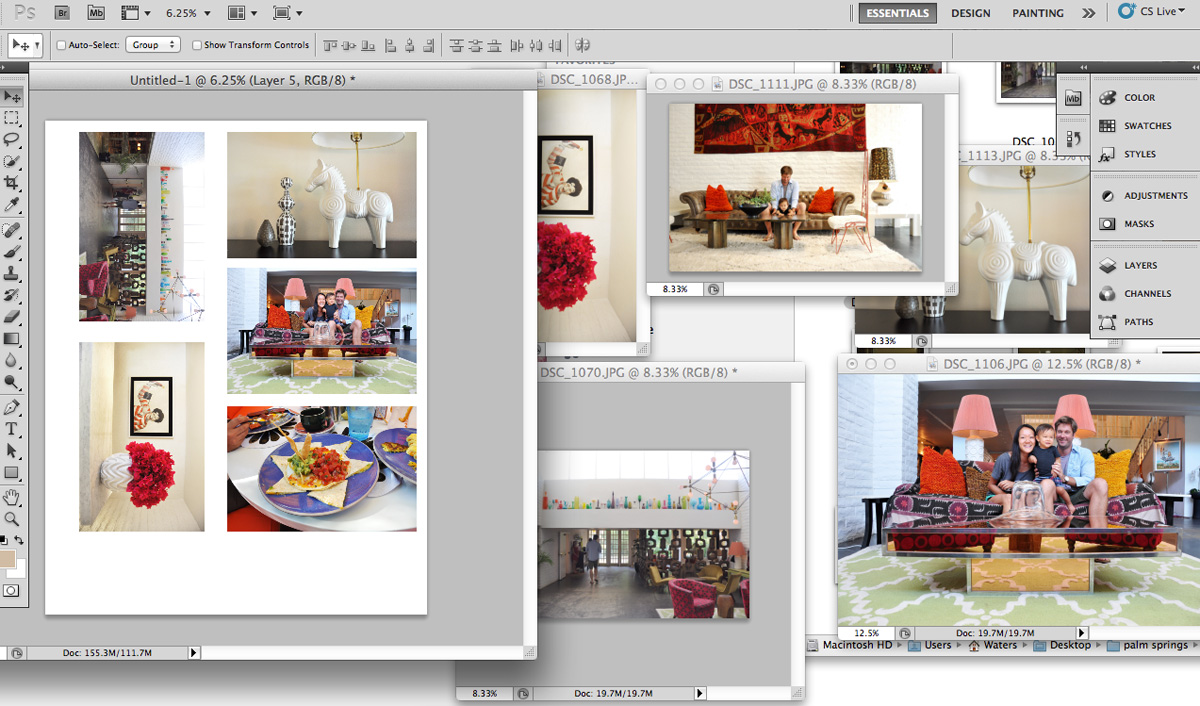
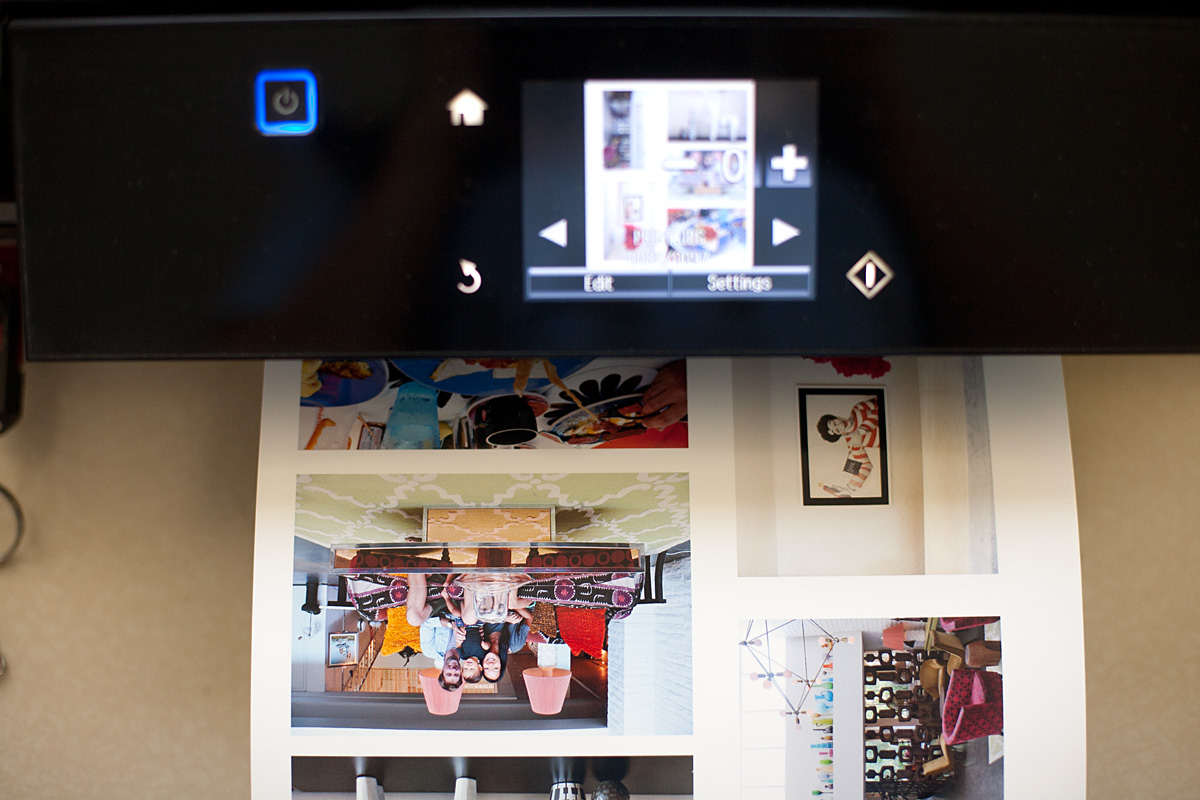
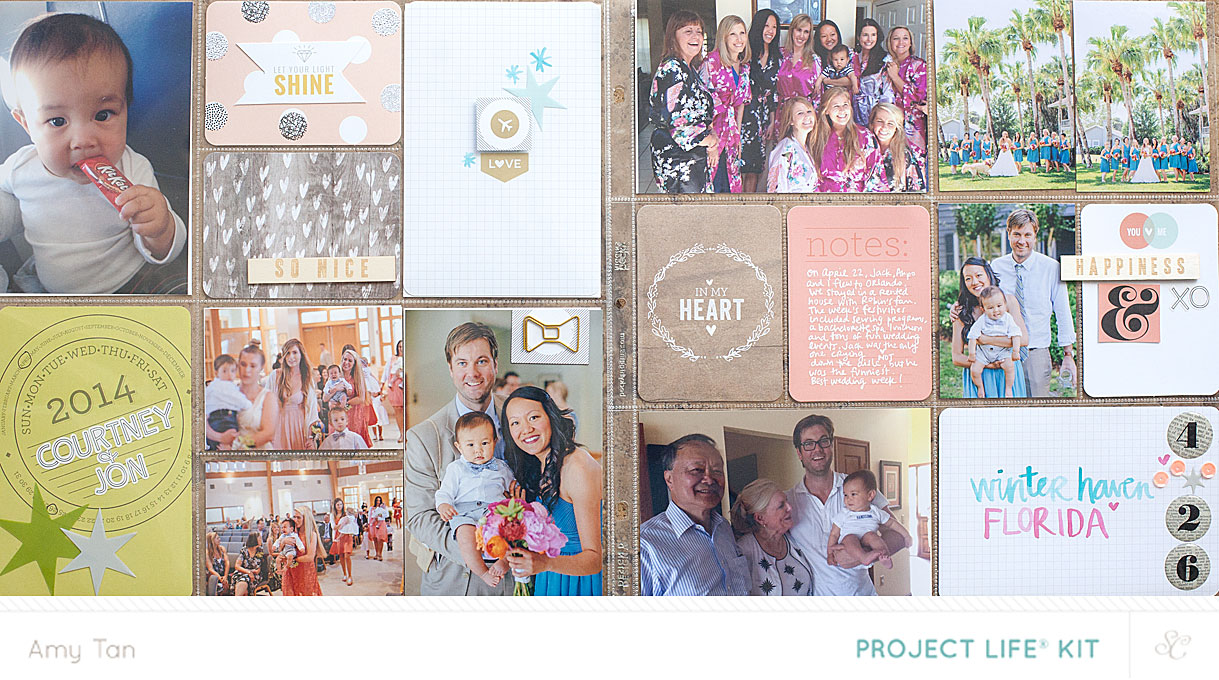
All photos (except Instax) printed by Persnickety Prints. You can shop for all the Poet Society kits here and see all my projects here. Keep in mind that subscribers can shop the pre-sale each month at noon EST on the 27th. Others need to wait until the clock strikes midnight tonight. Become a subscriber and get in on all the benefits and rewards that Studio Calico has to offer!

Workspace Wednesday

20140306-054355.jpgFor my Two Peas in a Bucket Project Life spread, besides making a mess, I decided to use the Associate nesting die set. The teal cardstock was something I wanted to feature consistently throughout the whole layout.20140306-054407.jpgI typically use the Cuttlebug that I have had for years - it's compact and folds up nicely. I also have the Fiskars Fuse, which takes up a bit more space (but stays folded up under my desk) and is used mainly for larger projects. I nest the cardstock and the die between plates B and C. Then I use this brad setter to poke through the holes to pop out the design if it's stuck inside. 20140306-054416.jpg20140306-054426.jpg20140306-054434.jpgProject Life by amy tan using Plus One Copyright Two Peas in a Bucket - where you can shop for Plus One products | Supply List and detailed photos The grey frame is also included in the die set and fits perfectly into the pocket.

PL X 2

Lately when I have been working on Project Life spreads, it seems that I have to really try hard to make sure the entire spread isn't of Jack. I suppose it's a good little challenge though, considering most of the photos I am taking lately include the cutie. Here are a couple of recent Project Life spreads using mostly Plus One products. AmyTanPLxoxo PL_Week4