Zinia's Watercolor Cards

Hello everyone! It’s Zinia here and today I’d like to share with you a few fun and easy card ideas using the new Amy Tangerine Stay Sweet Watercolor set.

One of the many things I love about this set is the colors. They are so beautiful and vibrant straight from the pans that you don’t need to worry about mixing beautiful shades.

Zinia's Watercolor Cards

So for my first card, I used the colors straight from the pans and I created a rainbow stripped pattern design. Every time I run through my brush with a new color, I let it touch the previous strip so that the colors bleed into each other a bit.

Zinia's Watercolor Cards

For my second card, I wanted to focus more on that bleeding effect so this time, I created circles of color and let them touch with each other so the colors mix on their own. This technique really creates breathtaking results.

Zinia's Watercolor Cards

To create the next card I used a craft mat. I picked some colors and scribbled them down on the mat, then I added a spritz of water and dipped my card into the color. This is what people call the smooshing technique cause you basically smoosh your card panel into the colors to get a random but beautiful design.

Zinia's Watercolor Cards

For my last card I created an ombre effect with a twist. Instead of going from one side to the other with my gradient of colors, I used a circle shape and went from the outer edges of my card towards the center. This creates sort of like a tunnel effect and it really makes everyone focus on the center of the card.

Zinia's Watercolor Cards

Now to turn these watercolor panels into cards I added various stickers as sentiments. Also instead of mounting them on a regular card base, I decided to adhere them on some of the lovely cards that come in the Stay Sweet card set.

Zinia's Watercolor Cards

PRODUCT LIST:

Stay Sweet Collection: 351973 BOXED CARDS SET, 351199 WATERCOLOR SET, 351208 STICKER BOOK, 351206 THICKERS Be Kind, 351207 THICKERS Roll With It

Abstract Inspiration Blog | Instagram | Twitter | Facebook

Thanks so much for sharing this adorable layout, Zinia! Other Design Team member posts can be found here. Shop Stay Sweet now! Check your local retailer and online at Simon Says Stamp and Scrapbook.com

Zinia's DIY Minibooks

Hello everyone! It’s Zinia here and today I’m back with a really fun project to share with you.

I don’t know about you, but when I scrapbook, I tend to pick pattern papers with simple designs like stripes and dots. Although I love more complicated and busy patterns, from time to time, I feel intimidated to use them. I know I’m not alone in this so if you feel the same, I have a really cute project that’s perfect to use all those gorgeous patterns that are a bit more challenging to use on scrapbook layouts.

I won’t keep you wondering any longer, the project I’m talking about is DIY notebooks! They are perfect for journaling, planning or keeping notes about all sorts of things. You can also take them a step further and fill them with photos and memorabilia turning them into little minibooks/smashbooks. 

Zinia

For my minibooks I picked some patterns from the Stay Sweet 6x8 paper pad. One sheet of paper folds into a perfect 6x4 sized notebook! You pick any patterns you like no matter how simple or colorful. 

For the inside pages of my notebooks, I used printer paper but if you plan to turn them into minibooks or art journals, make sure to use the paper you will need.

AT-DIY Minibooks-ZiniaRedo-1-1.jpg

There are millions of ways to bind a notebook but I went for a simple saddle stitch cause I really love the way it looks. Using the WeR Memory Keepers book binding tool, I poked the holes on my cover and pages and stitched along the spine following the instructions of the tool’s booklet. 

Zinia's DIY Minibooks

You don’t have to own the bookbinding tool to create this minibook but it definitely makes the process much faster and easier.

To finish my notebooks, I picked some sticker quotes and added the at the front size of the cover. Alternatively, you can a title or date of what’s inside using your favorite thickers or letter stickers.

Zinia's DIY Minibooks

It really makes me so happy and motivated to see these beautiful notebooks on my desk when I start my day. They also look incredibly pretty when they sit next to each other on a shelf.

See more of Zinia’s work: Abstract Inspiration Blog | Instagram | Twitter | Facebook

PRODUCTS: WRMK Bookbinding Tool, 351198 Stay Sweet 6X8 PAD, 351207 Stay Sweet THICKERS Roll With It, 351208 Stay Sweet STICKER BOOK

Thanks so much for sharing this adorable layout, Zinia! Other Design Team member posts can be found here. Shop Stay Sweet now! Check your local retailer and online at Simon Says Stamp and Scrapbook.com

DIY Halloween Costumes

DIY Halloween Costumes

Hopefully, you were able to catch the Facebook live video where I demoed three super cute kids costumes for Halloween in collaboration with our friends at Primary. We love Primary for their colorful and super soft basics, and they make Halloween DIY super easy and affordable. Kids can be anything they want! Jack decided he wanted to be a Love Robot with rainbow powers, so we made that happen. Primary is the only kid's clothing brand to offer an awesome DIY concierge service where customers can call in about any DIY/how-to inquiry - they can call or text 1-833-DIYEASY.  Primary concierge we will be available through the end of October:  M-F 9am-10pm EST, Wkend 10am-6pm EST!

If you want a step-by-step walk through of this unique love robot, you’ve come to the right place. I still recommend checking out the video on Facebook because it’s always nice to be able to see a craft come together in real time. Here at the studio, we’re constantly figuring out the best ways to bring you guys the tutorials and videos you want to see, so be sure to give feedback. Do you like the live video format?

DIY Halloween Costumes

The Love Robot

What you will need:

Plain Gray Shirt

Plain Gray Sweatpants (I used Primary’s awesome basics because they’re soft, comfy and some of Jack’s favorites)

Felt cut into various shapes (try to imitate buttons, gears, anything robotic!)

Fabric Glue

Scissors

Thin Cardboard

Needle (Large)

Embroidery Floss (Various Colors)

Step 1: Cut out buttons, gears, and any other shapes you think will look good for the robot. You can use the thin cardboard to make a pattern and then trace it out on the felt or you can freestyle. Either way, remember, it doesn’t need to look perfect. This is a love robot after all.

Step 2: Lay out the felt shapes on the clothing and style. Figure out where you would like the pieces to fit together on the shirt and pants.

Step 3: Secure the felt by gluing it down with the fabric glue. If you like, outline each felt piece with simple stitching using the needle and felt.

DIY Halloween Costumes

The Rainbow (This can be a solo or bff costume)

What You’ll Need:

Pink Shirt (2)

Scissors

Thin Cardboard

Felt in rainbow colors (red, orange, yellow, green, blue, purple and white)

Needle (Large)

Embroidery Floss

Step 1: Create your rainbow by drawing and cutting out cardboard pieces in the shape of half a rainbow. Remember, you should have 6 pieces. I also traced and cut out a puffy cloud. These cardboard pieces will be your pattern and your guide for the felt pieces.

Step 2: Cut out the felt on appropriate colors and lay it out on the clothing. (Optional: if you’re doing the BFF version of this costume, you’ll need to cut out two of each color.) Once you’ve laid out the rainbow felt pieces, place the cloud at the base of the rainbow.

Step 3: Glue and stitch. Carefully glue the pieces in place and allow them to dry. If desired, stitch around the outline of each color.

The Avocado

What You’ll Need:

Green Shirt

Scissors

Felt

Thin Cardboard

Step One: cut out two pieces of brown felt (one light and one dark). If you would like to give your avocado a face, make sure to cut those shapes out in the darker felt color.

Step Two: glue down the larger piece and then the smaller on top of it.

Step Three: Finish your avocado off with some cute stitching.

Remember to let all of the glue dry on all three projects before wearing. It takes several hours to allow the glue to dry completely. Here’s the YouTube video sharing some of the finishing touches we put onto the

What are you or your kids going to be this Halloween and are you going the DIY route?

Get 20% off your first order at Primary.com.

This post is in collaboration with Primary, all ideas and opinions are my own. As always, my creative partners and I appreciate the support.

Hobonichi Marble Makeover

Hobonichi Marble Makeover

Hello Team Tangerine! As you can see below, my beloved Hobonichi is a little worn out. I’m not ready to let it go or get another one, so I’ve decided to give it a little makeover. This project requires very few supplies and the steps are simple and easy to manage. If you have a well-loved journal or planner in need of an upgrade, check out the steps below or watch the tutorial on YouTube!

Hobonichi Marble Makeover

What you’ll need:

Step 1: Gather your supplies. Make sure you have everything you need and a clean, clear space with plenty of room to work. It helps if the area is well-lit, so you can see what you’re doing!

Step 2: Measure the cover of your Hobonichi and trace the outline on the contact paper. You will probably want to take a look at a large piece of the contact paper and line it up with a part of the pattern you like best. Make sure that you measure out two pieces of contact paper— one for the back and one for the front.

Step 3: Lay the contact paper out on the cutting mat. It may help to use a small piece of clear tape or even a paper weight to hold the contact paper down. Because it’s stored in a roll, it tries to roll back up and it can be hard to keep it flat! That’s what I found out during filming!

Step 4: Hold the paper taut and carefully use the ruler as a guide for your craft knife as you cut along the marks you made. Watch your fingers!

Step 5: Embrace your mistakes. Even though this is a simple project, chances are that something might not go the way you like. Don’t worry. Perfection is not required.

Step 6: Hold the contact paper against the Hobonichi and make sure it’s lined up the way you like. You may need to do some trimming, but it’s best to do that after you stick the paper on, that way you don’t cut away too much.

Step 7: This is the scary part, carefully peel away the lining of the contact paper and gently smooth it over your Hobonichi cover. It’s a good idea to do this slowly and to smooth from top down to the bottom in order to avoid air bubbles. A good tip is to use your ruler instead of your hands for a nice finish. You’ll do this to both sides of the journal. At this point, you may want to trim any edges that are too long or a bit ragged.

Step 8: Make it your own! I chose not to decorate any further, but you could easily add your favorite washi tape to the spine for a finished look!

So, what do you think about the final product? Will you give any of your favorite notebooks or journals a summery fresh makeover? Let me know in the comments below! And remember, it doesn’t have to be perfect to look great! Be sure to share your makeover results with me on social media too!

In , Tags

DIY Kids Art Binder

Kids Art Binder
Kids Art Binder

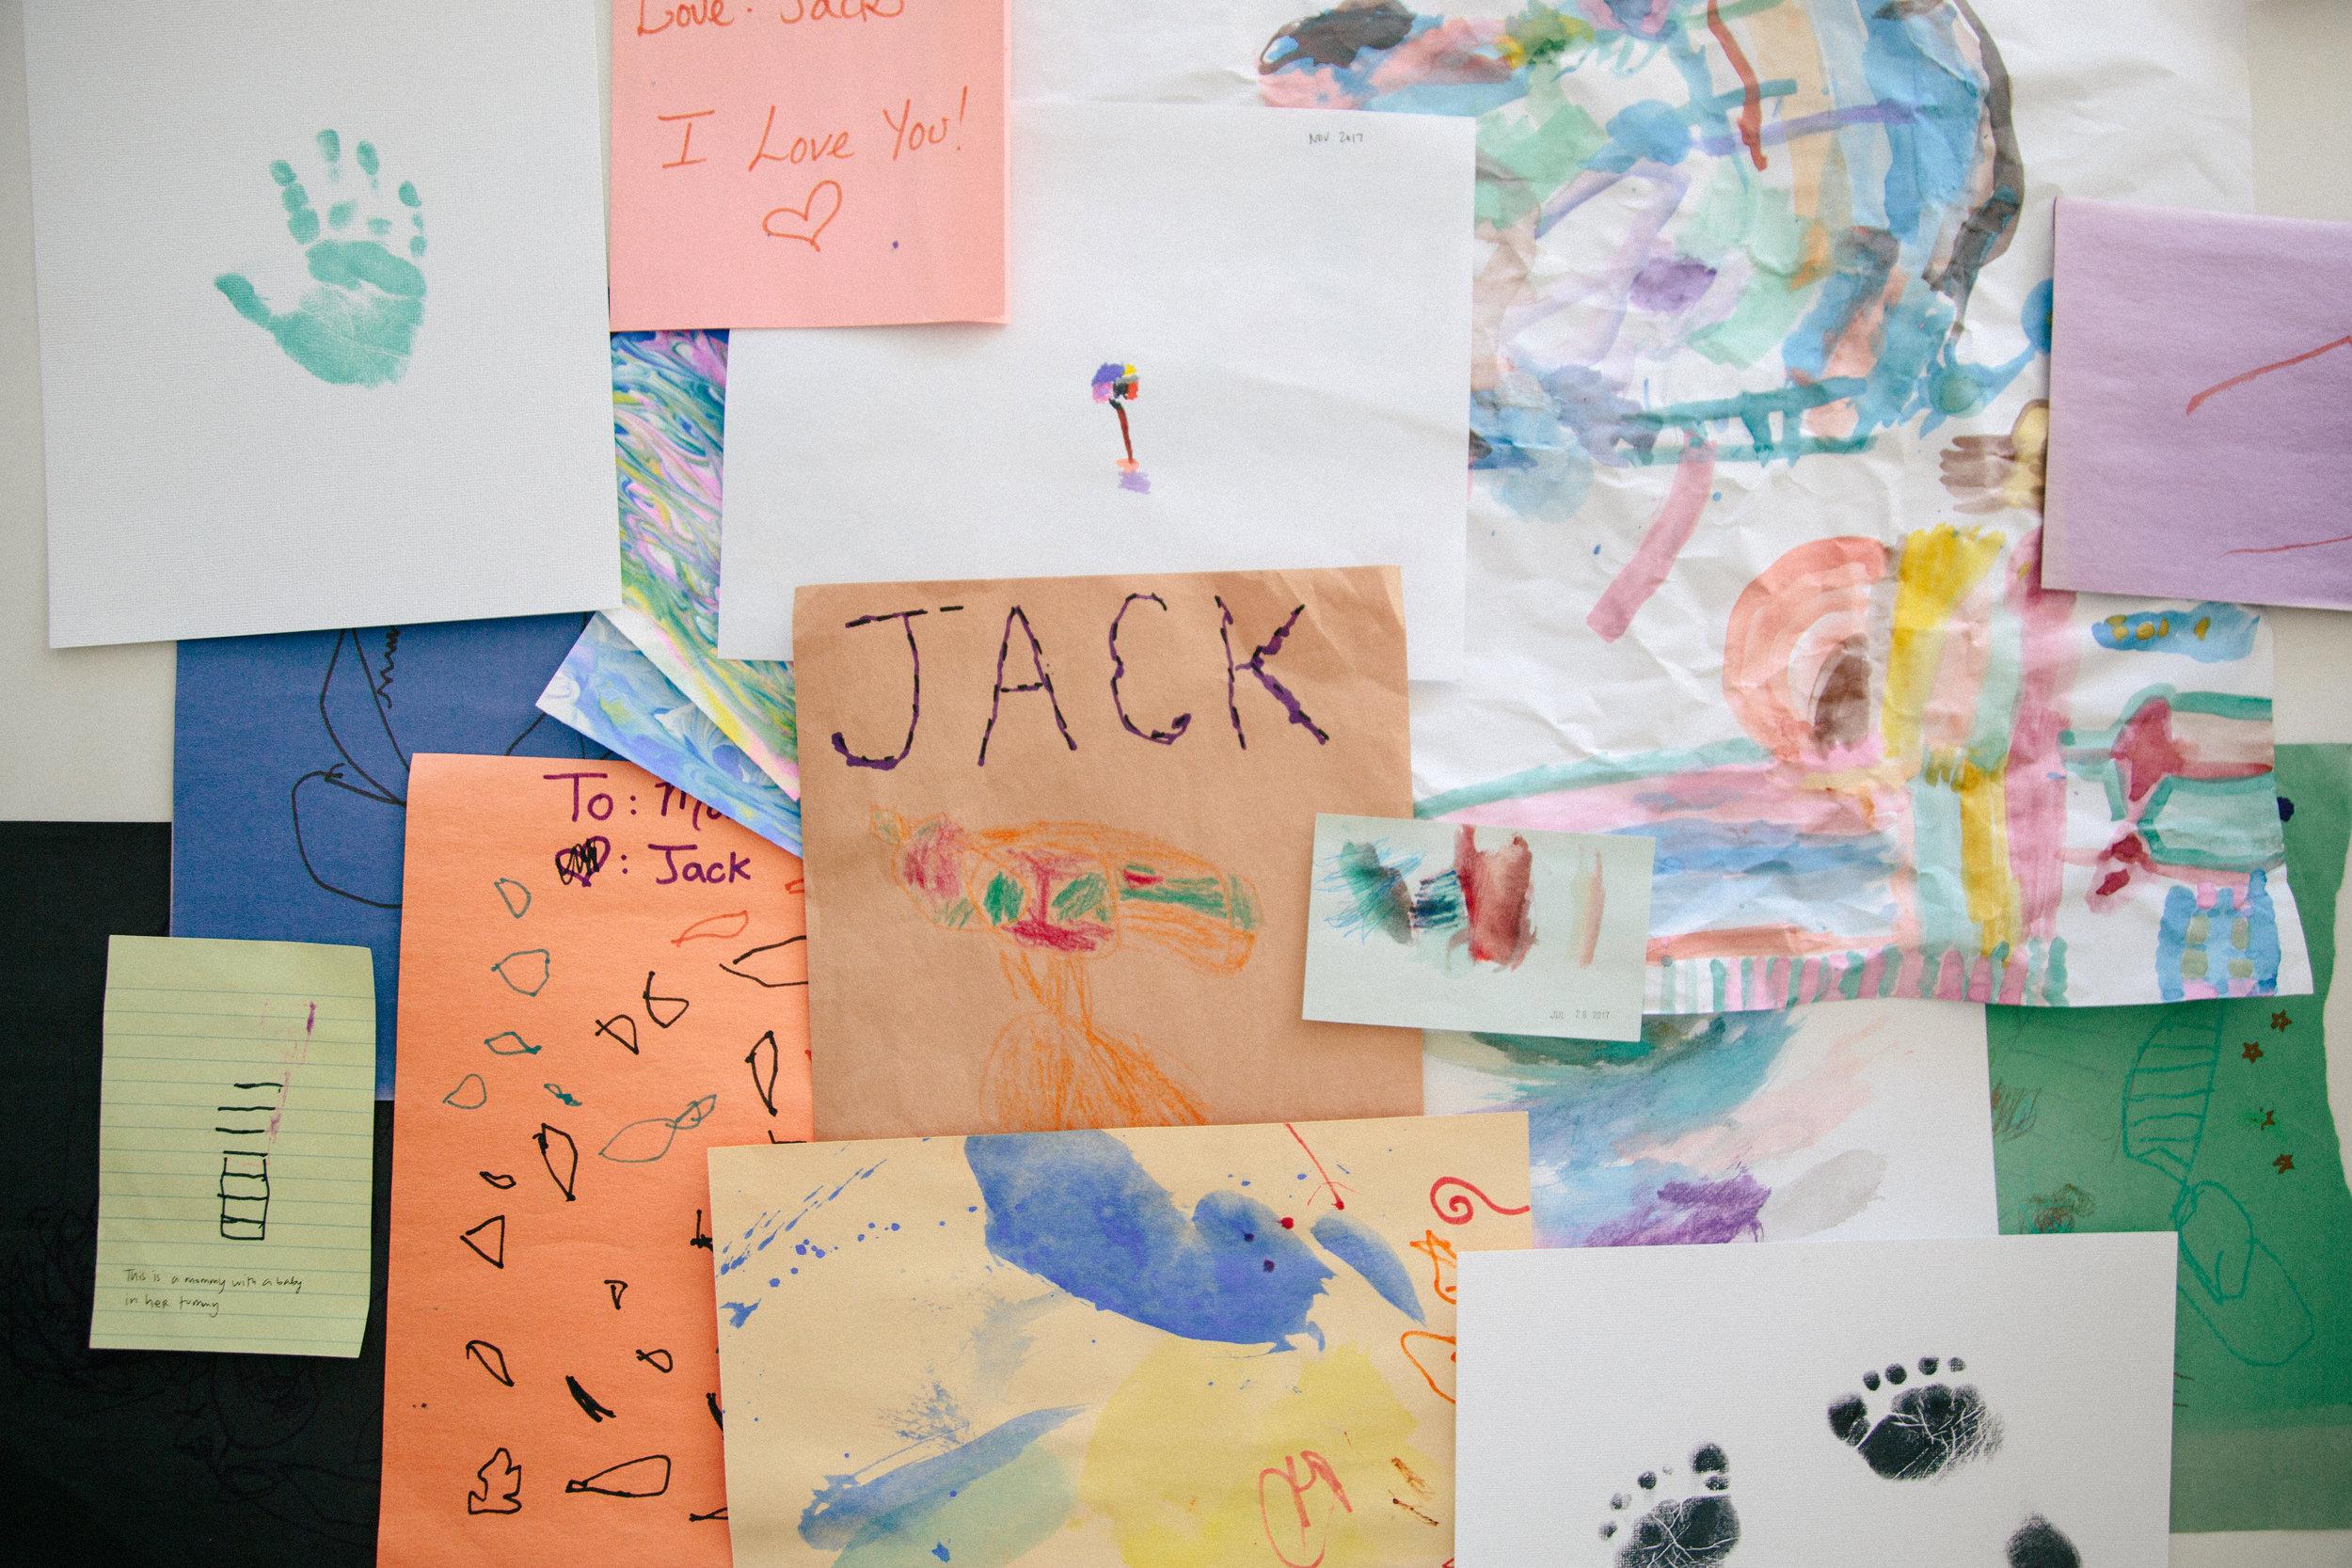
Since becoming a mom and being inundated with not only baby + kid gear but also plenty of paper + art, I’ve realized that I cannot save it all. My son is now in preschool and has already created a vast collection of artwork in his short four years of life. As much as I want to preserve every last bit of it, there’s just not enough room in our home to properly showcase it all. That’s where the Instax art binder comes into play!

Kids Art Binder

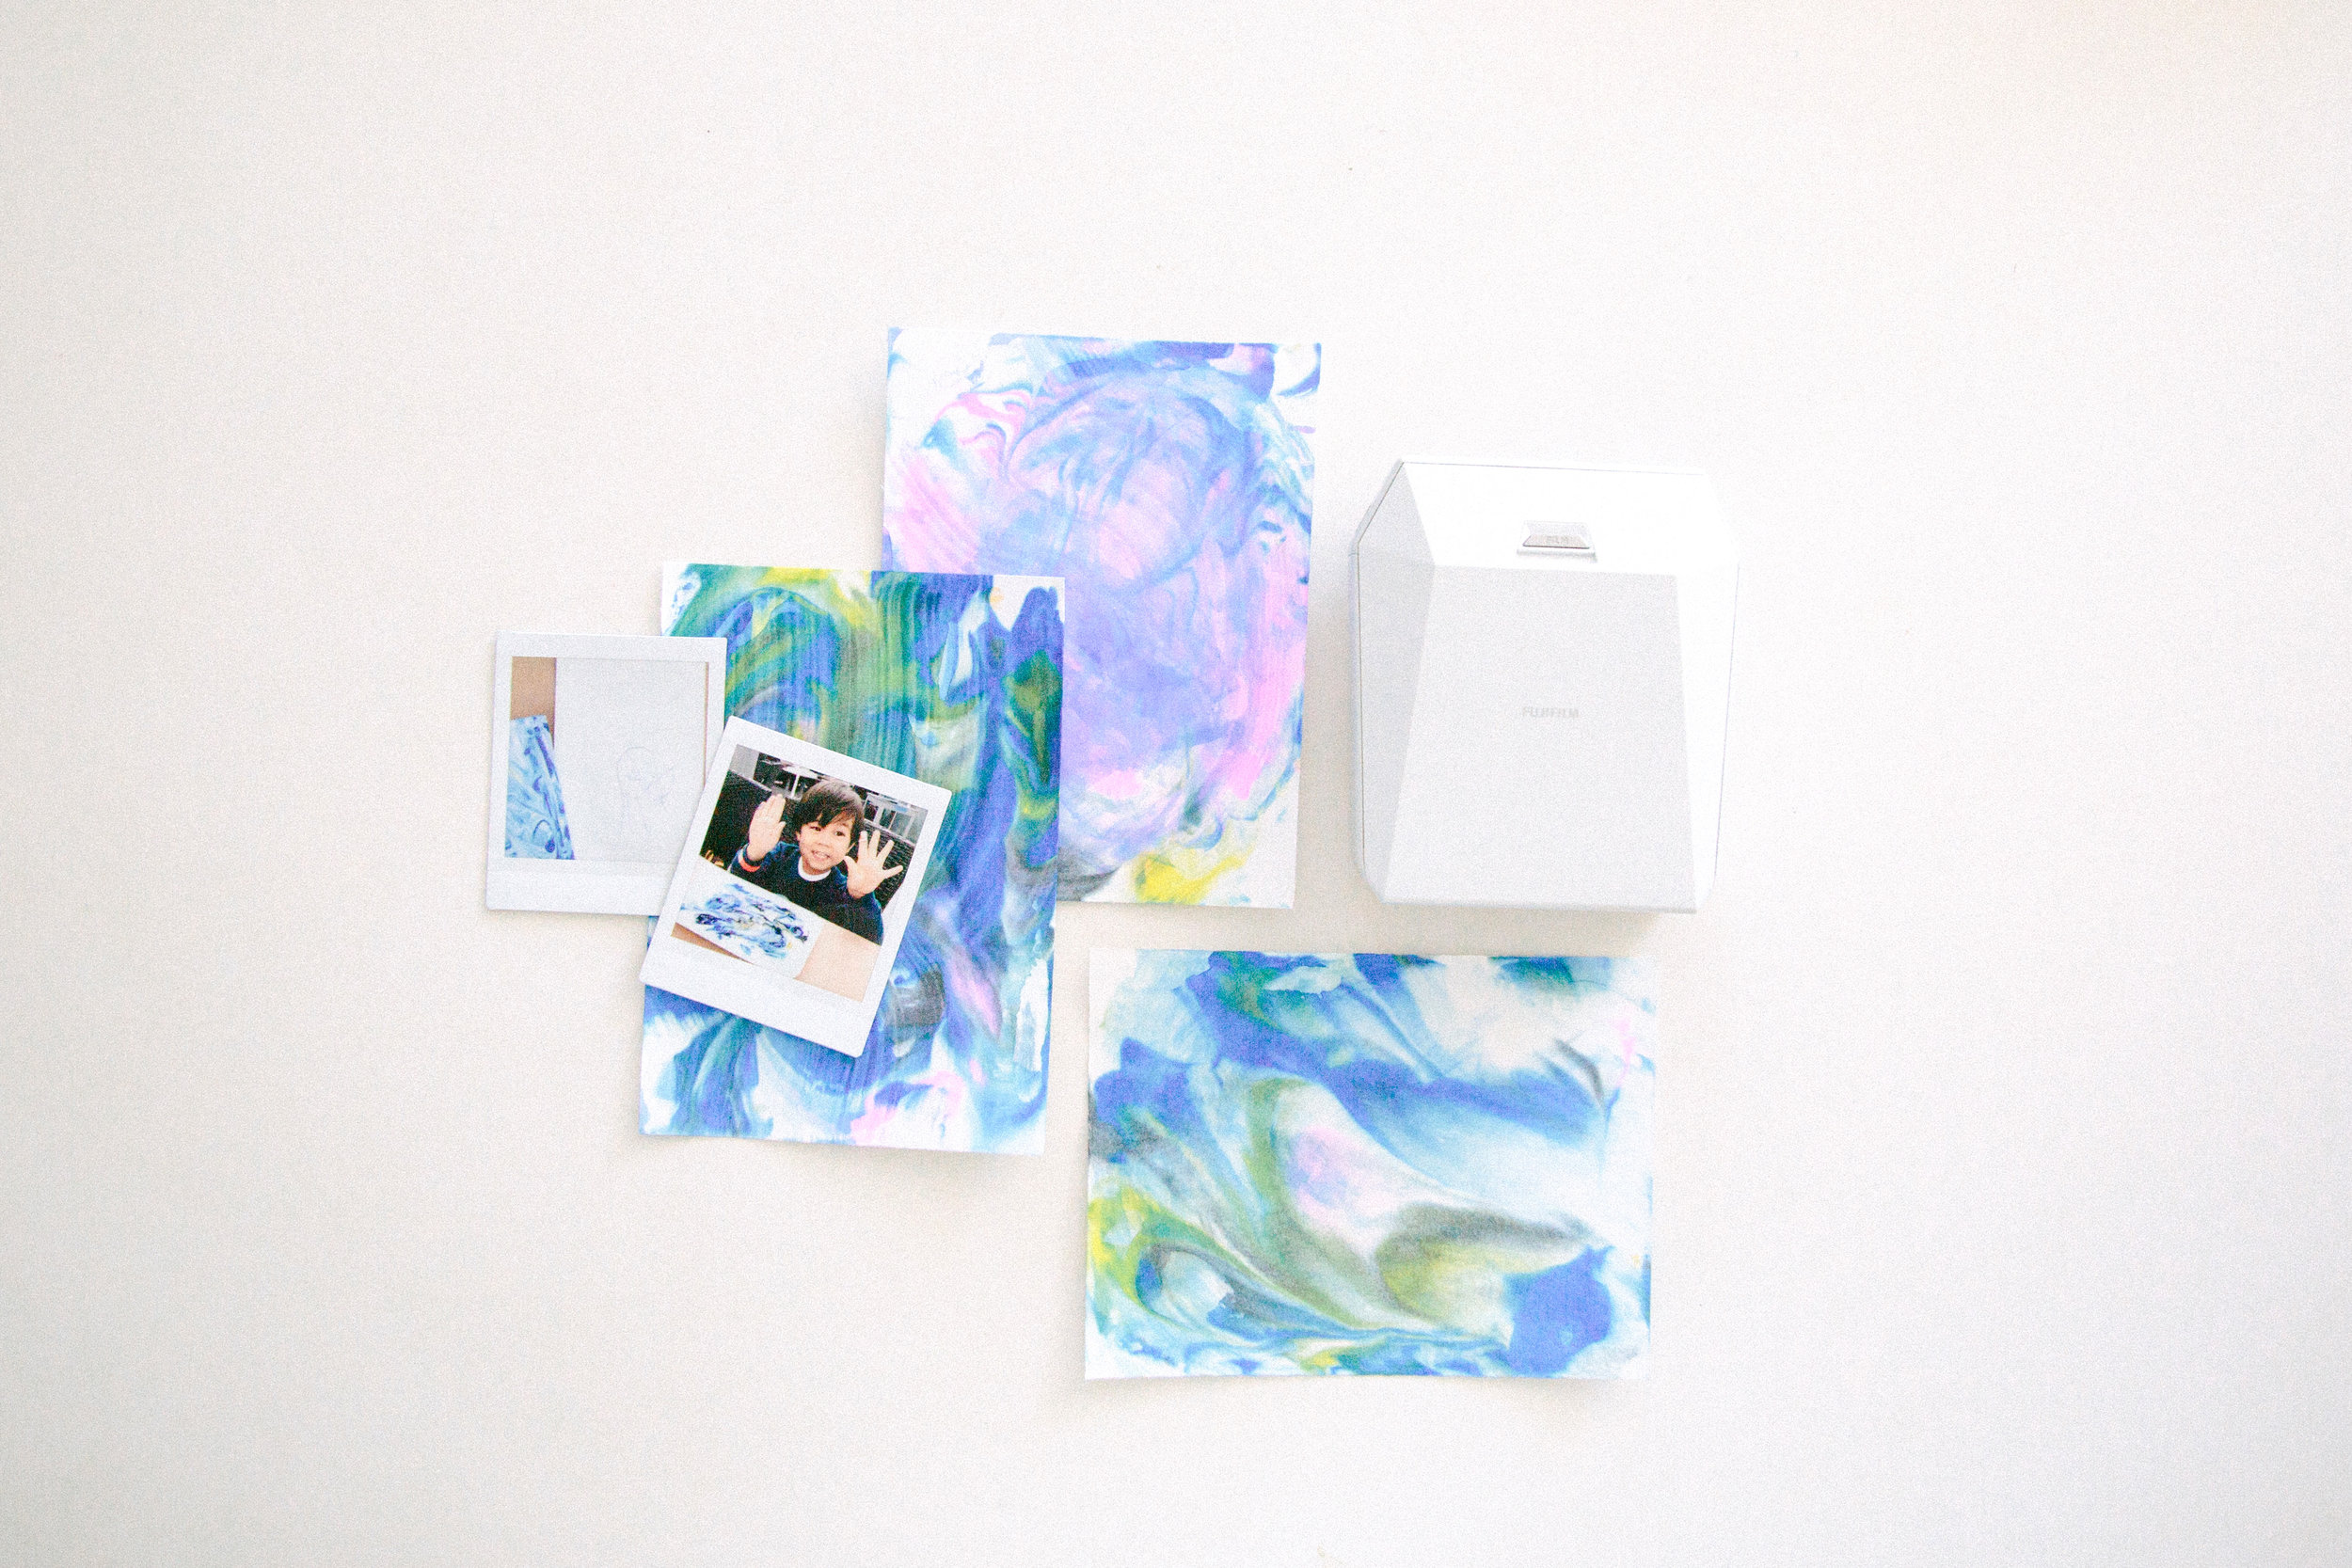
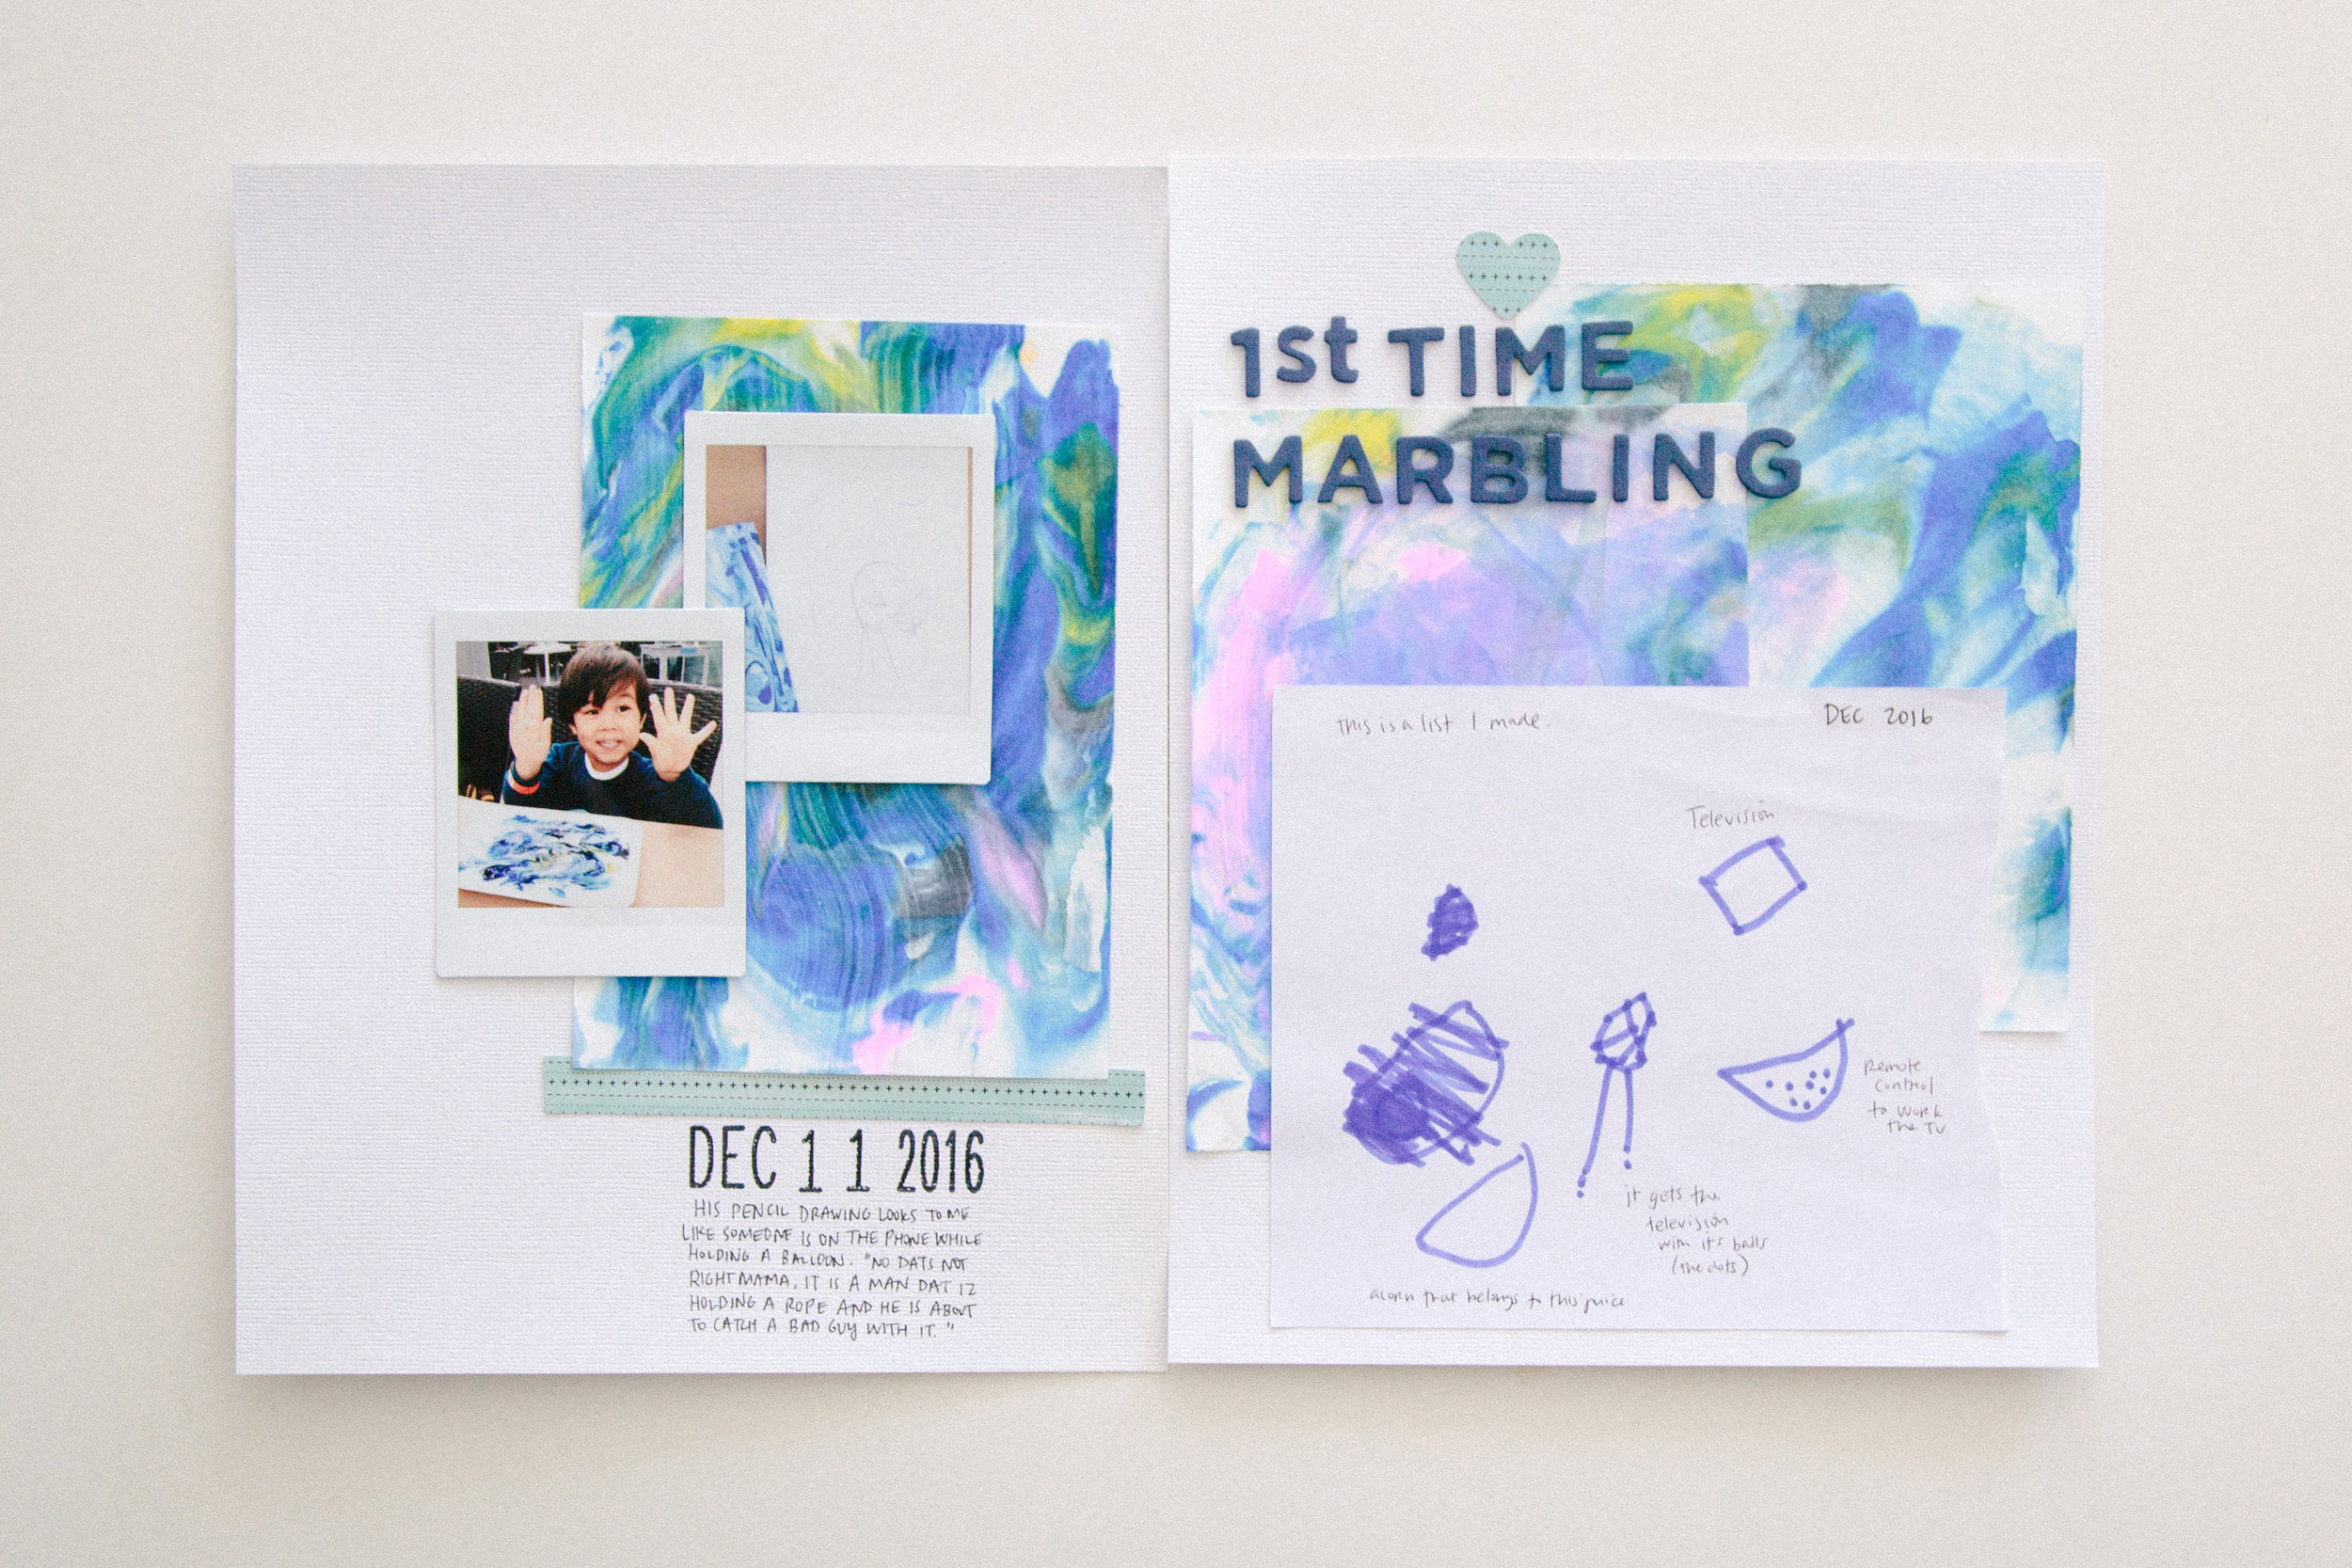
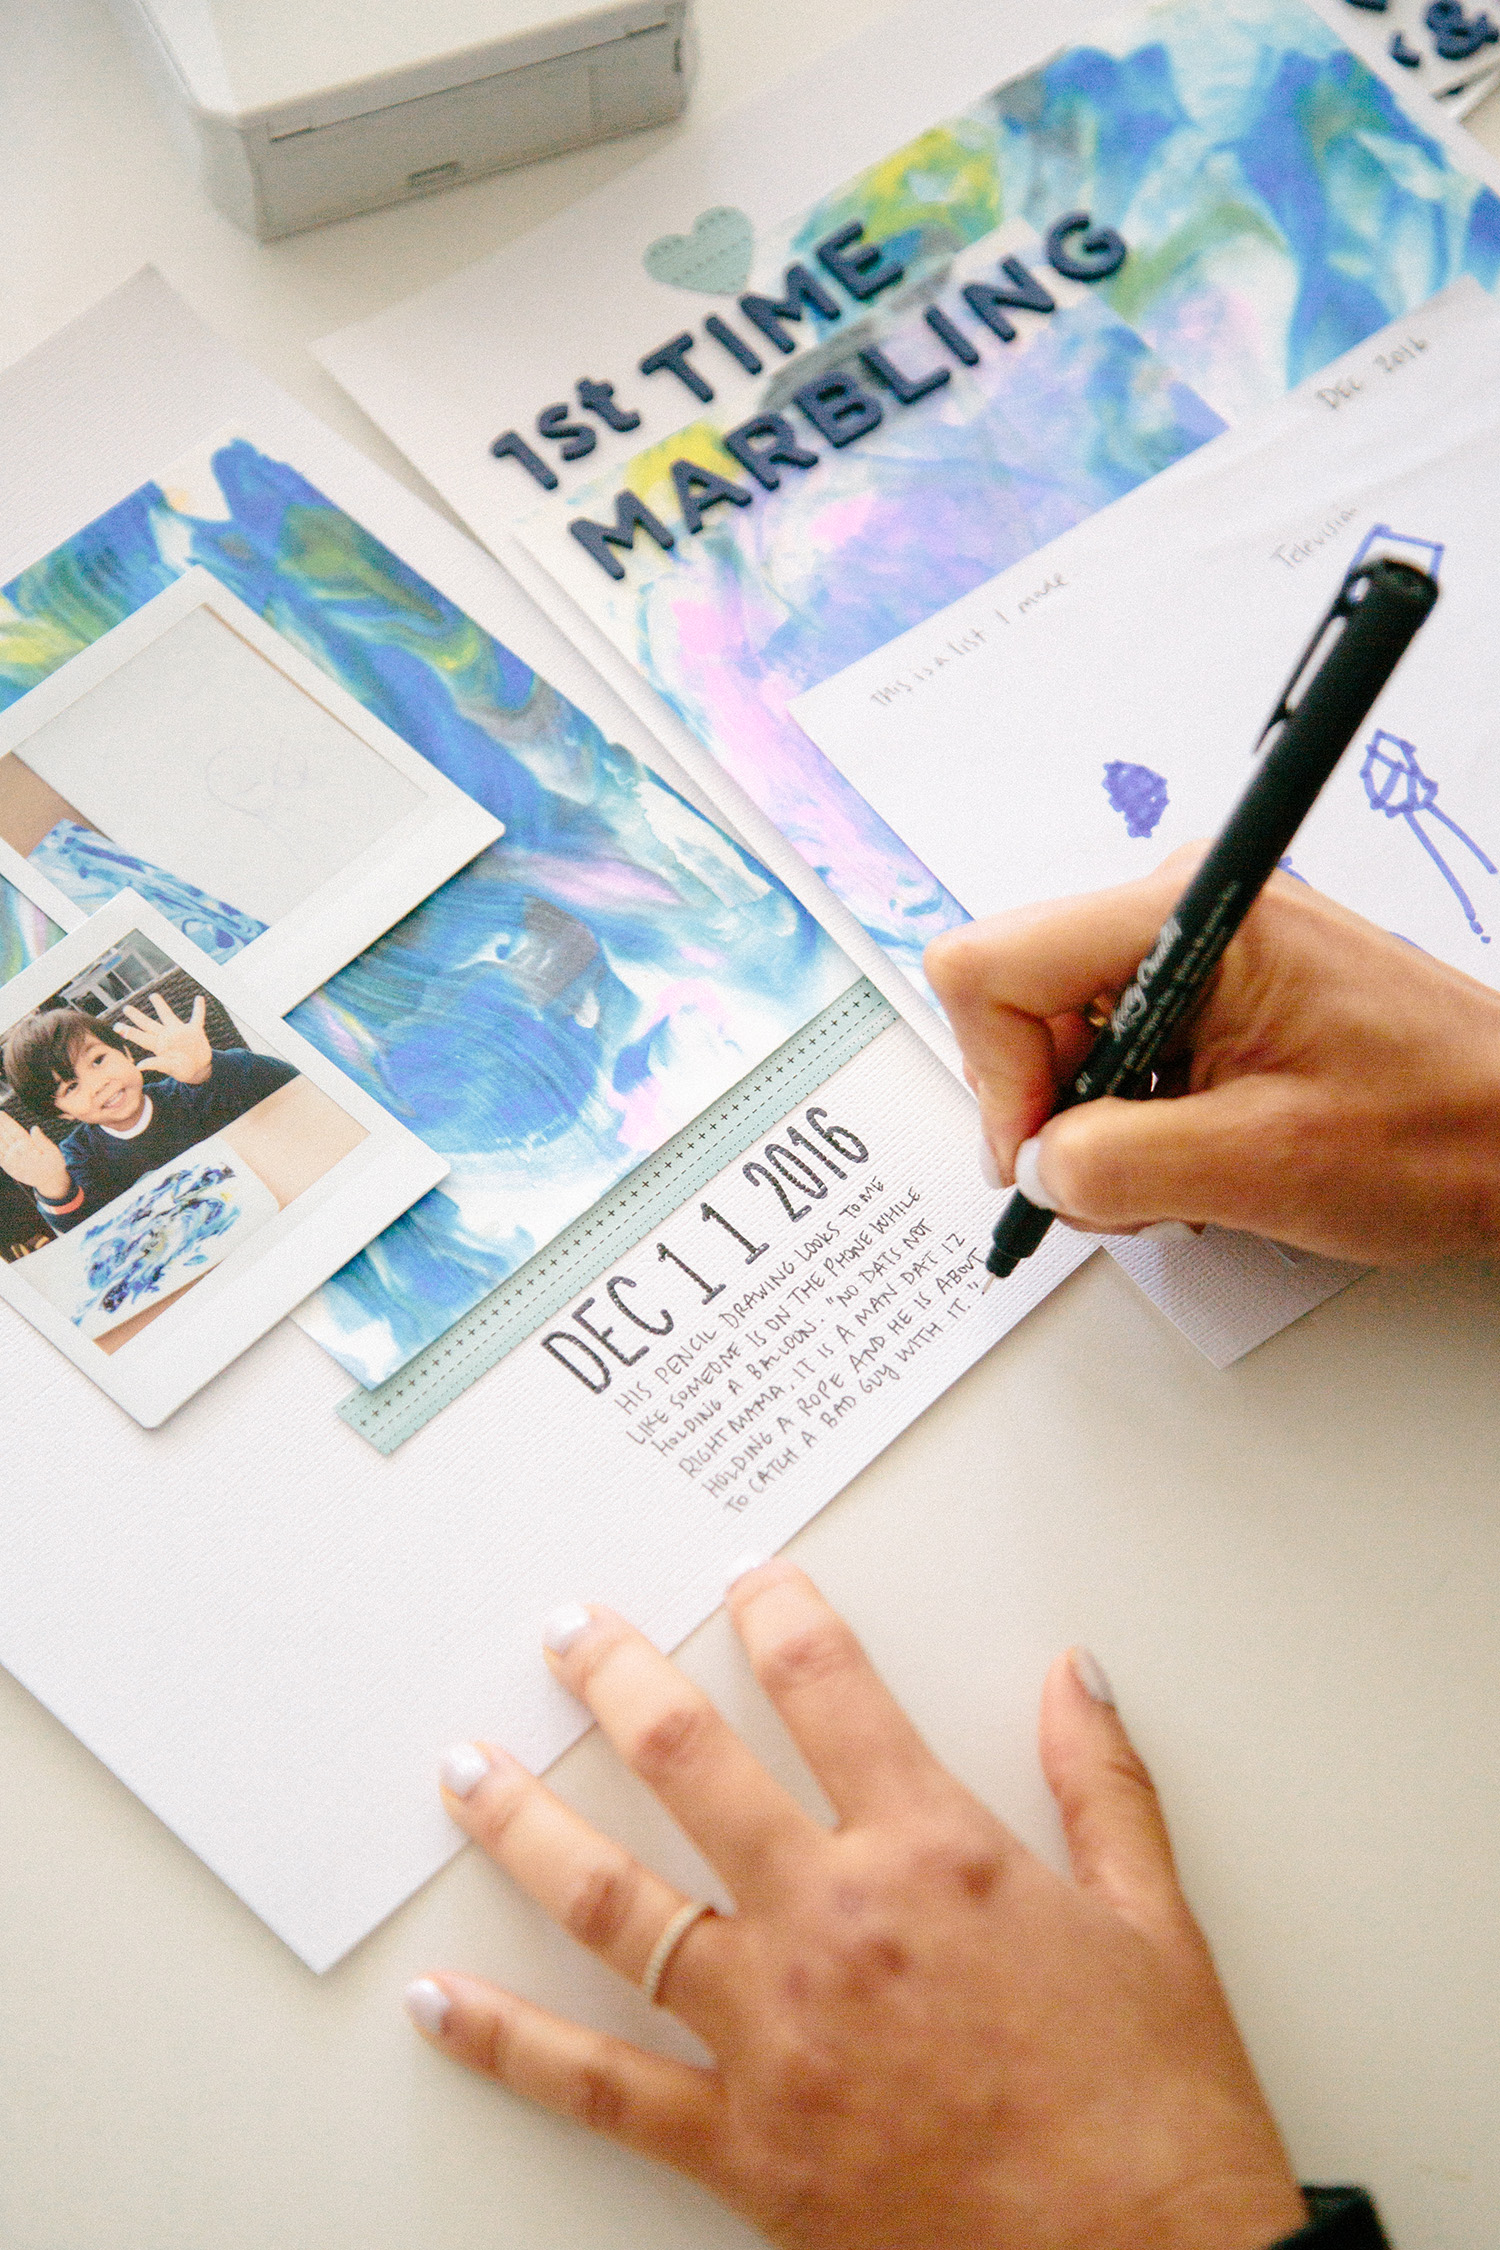
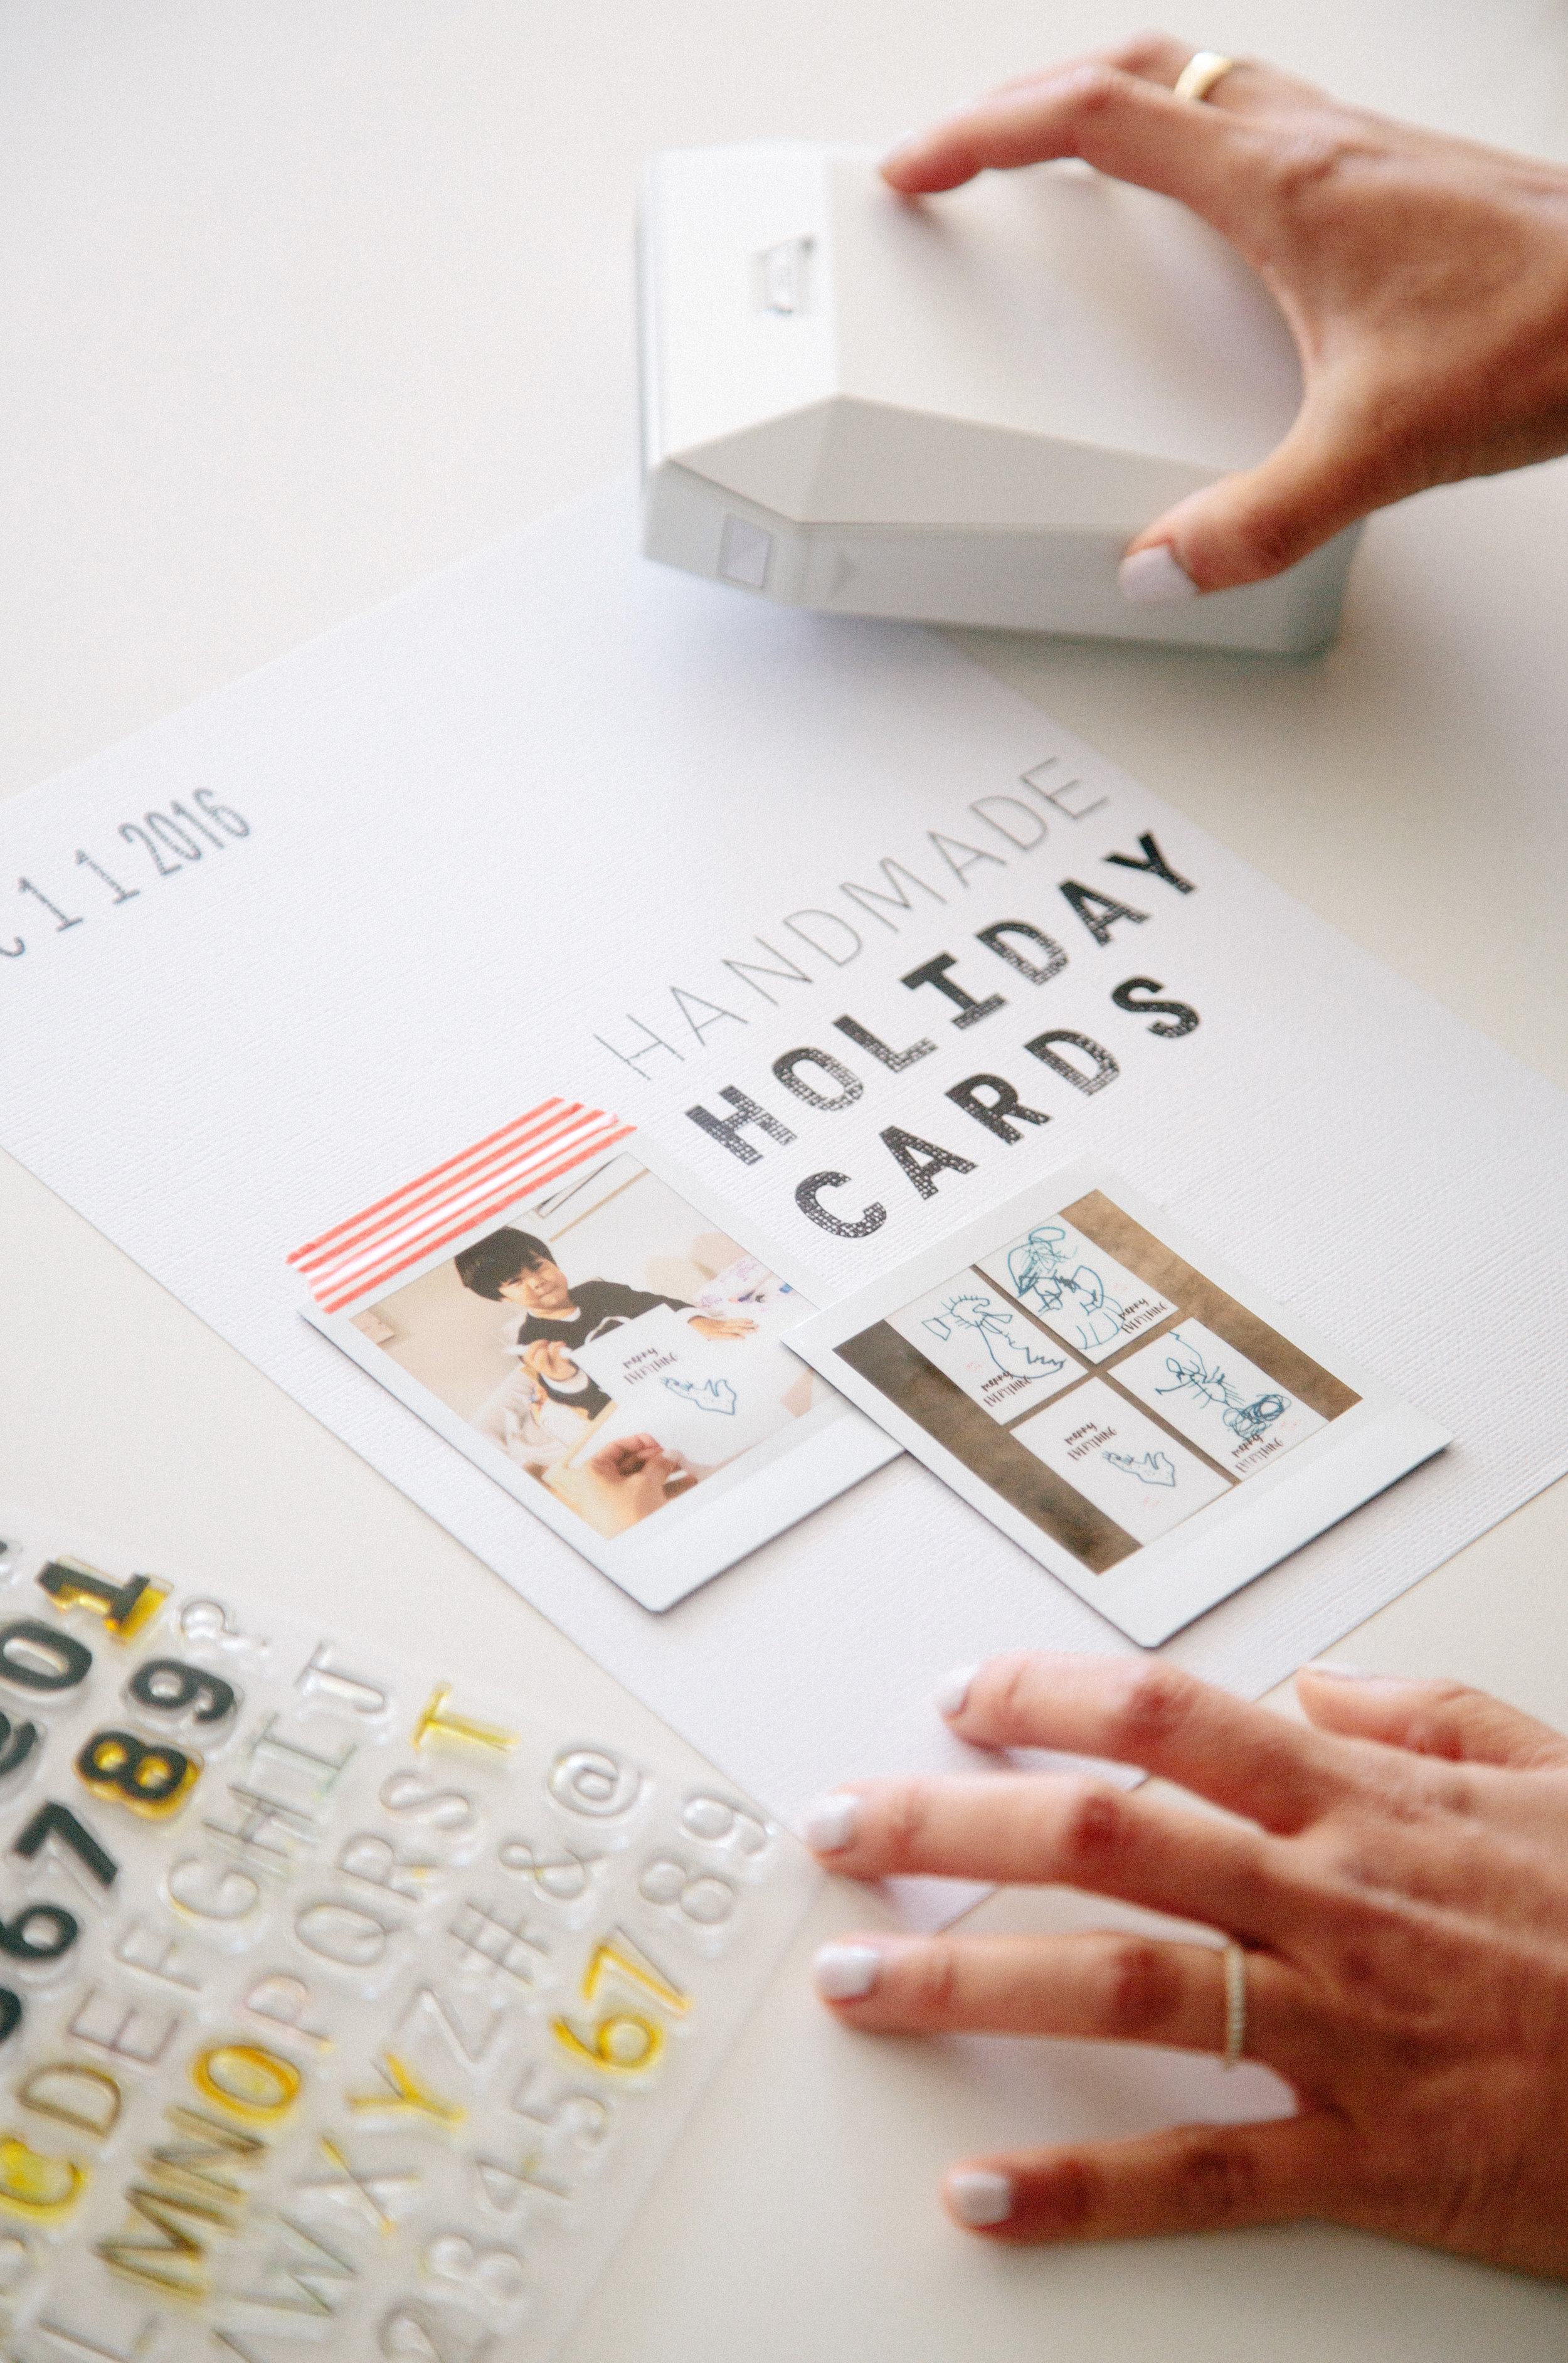
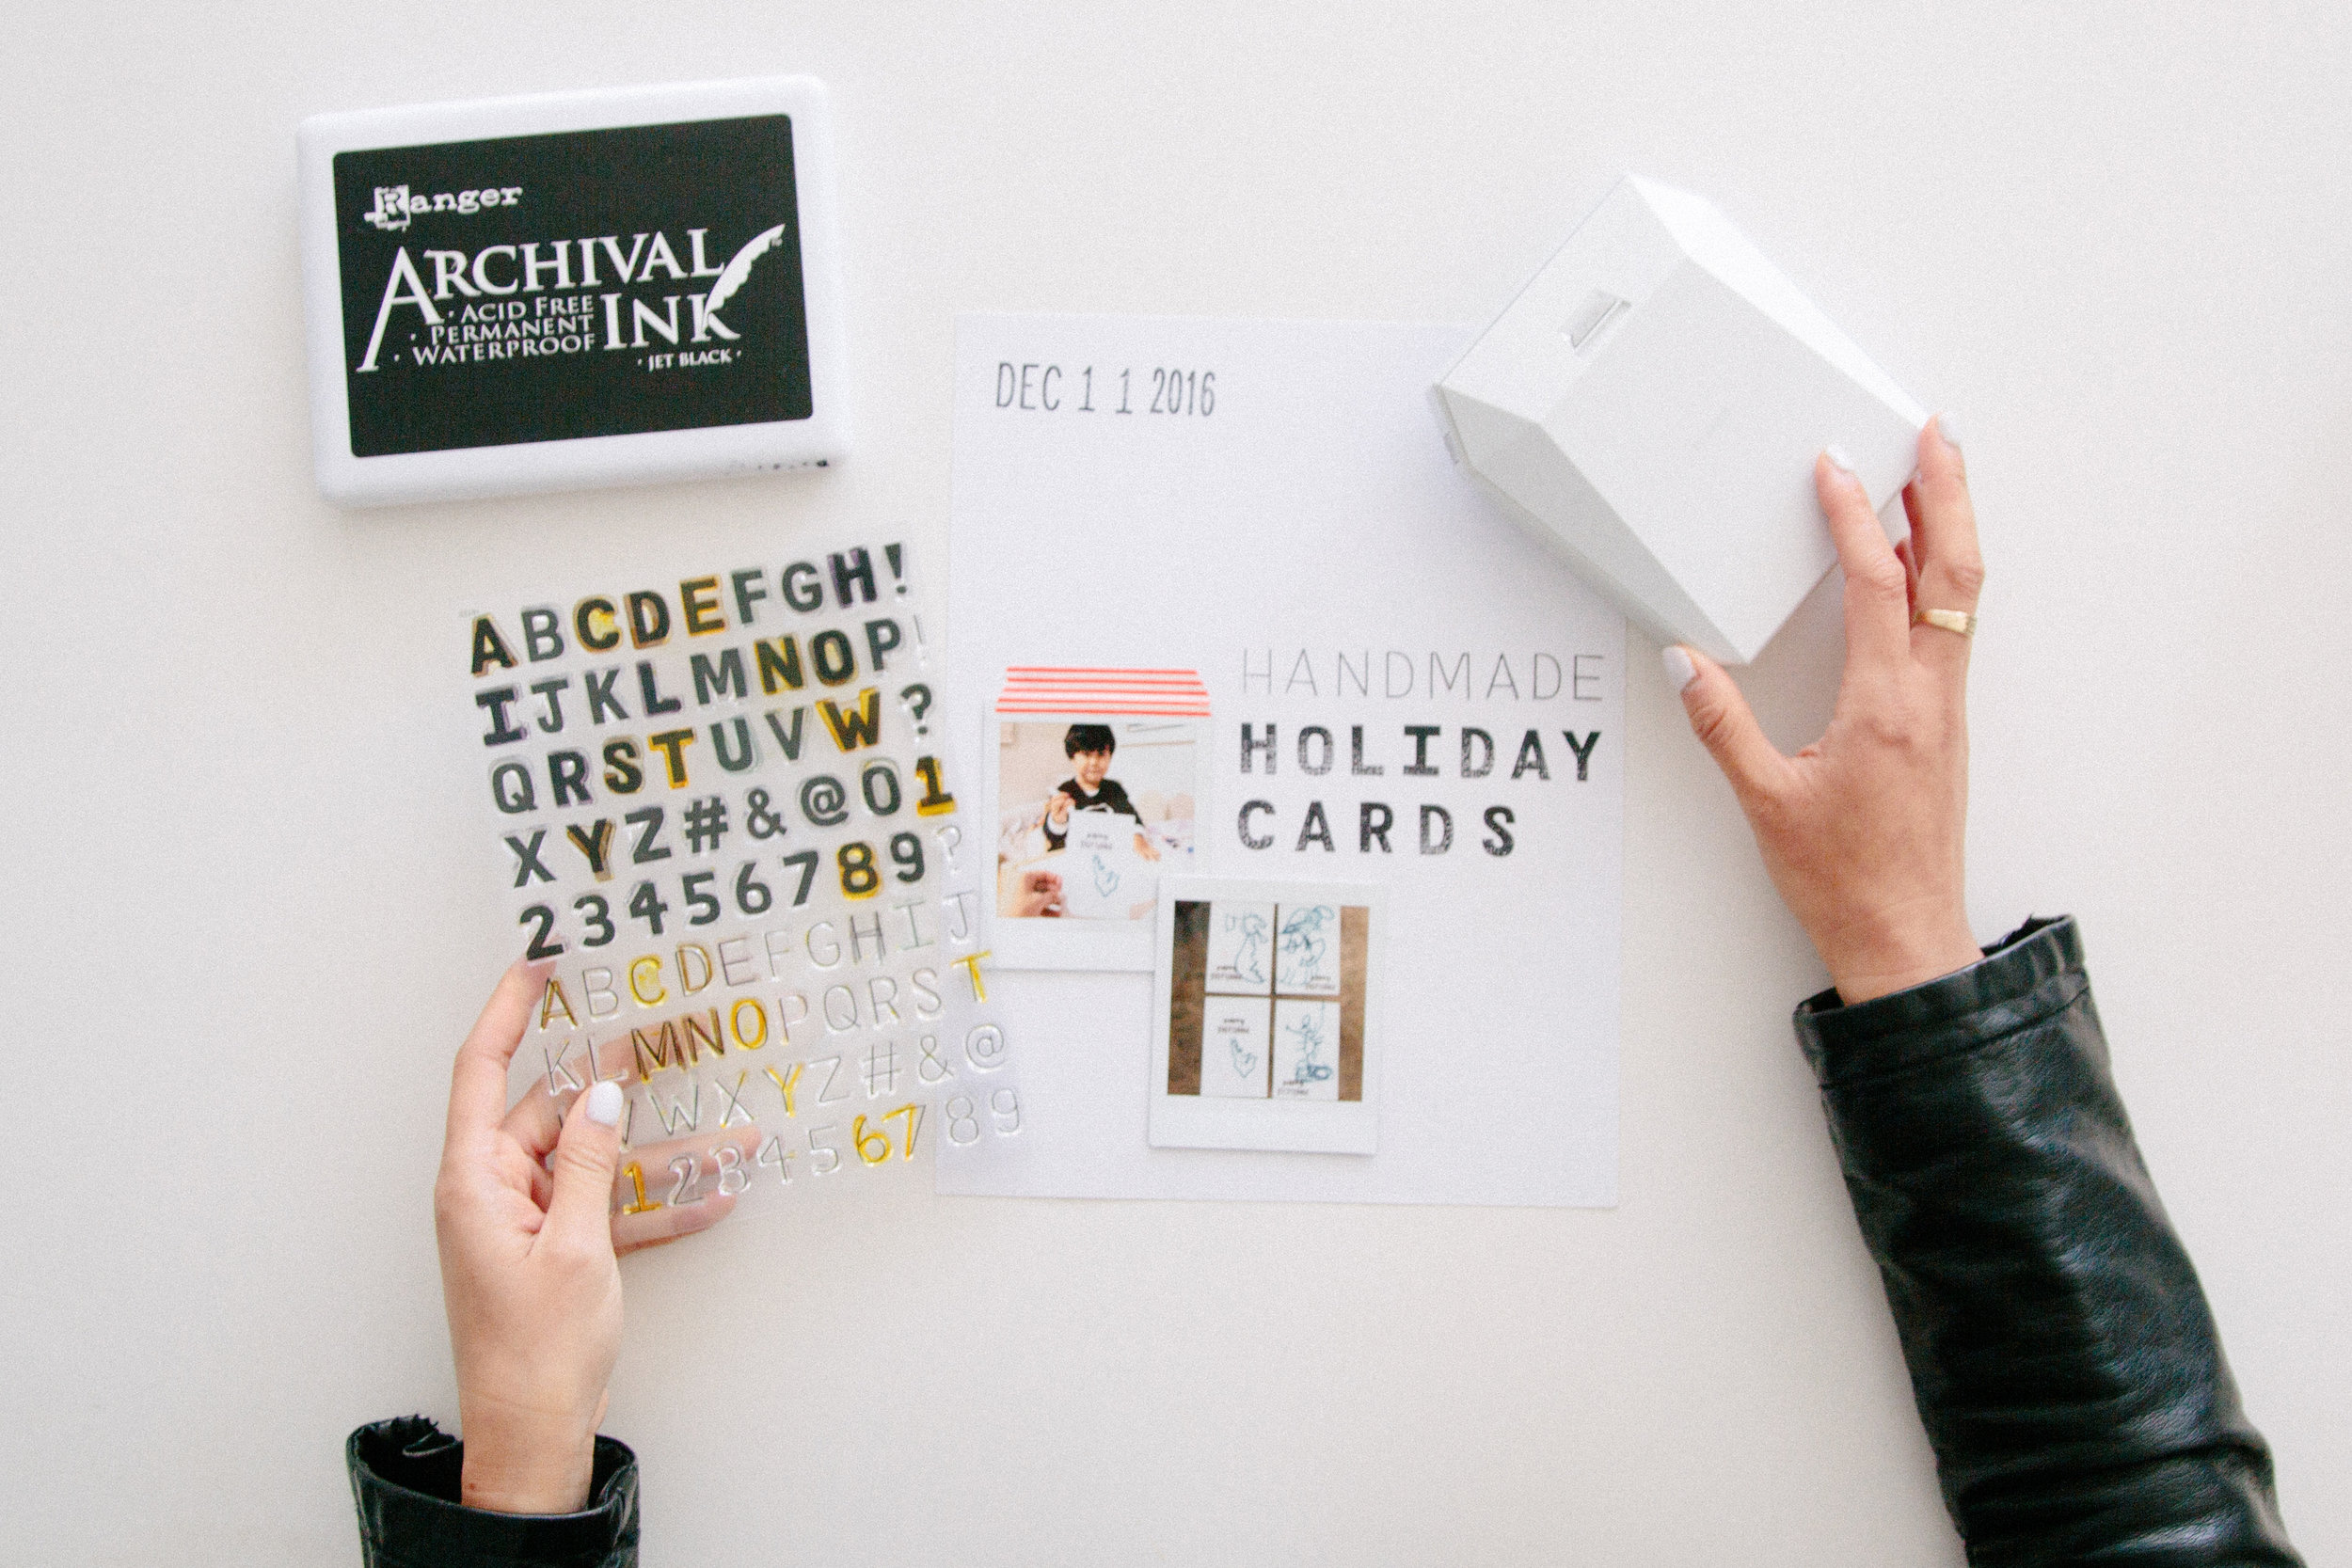
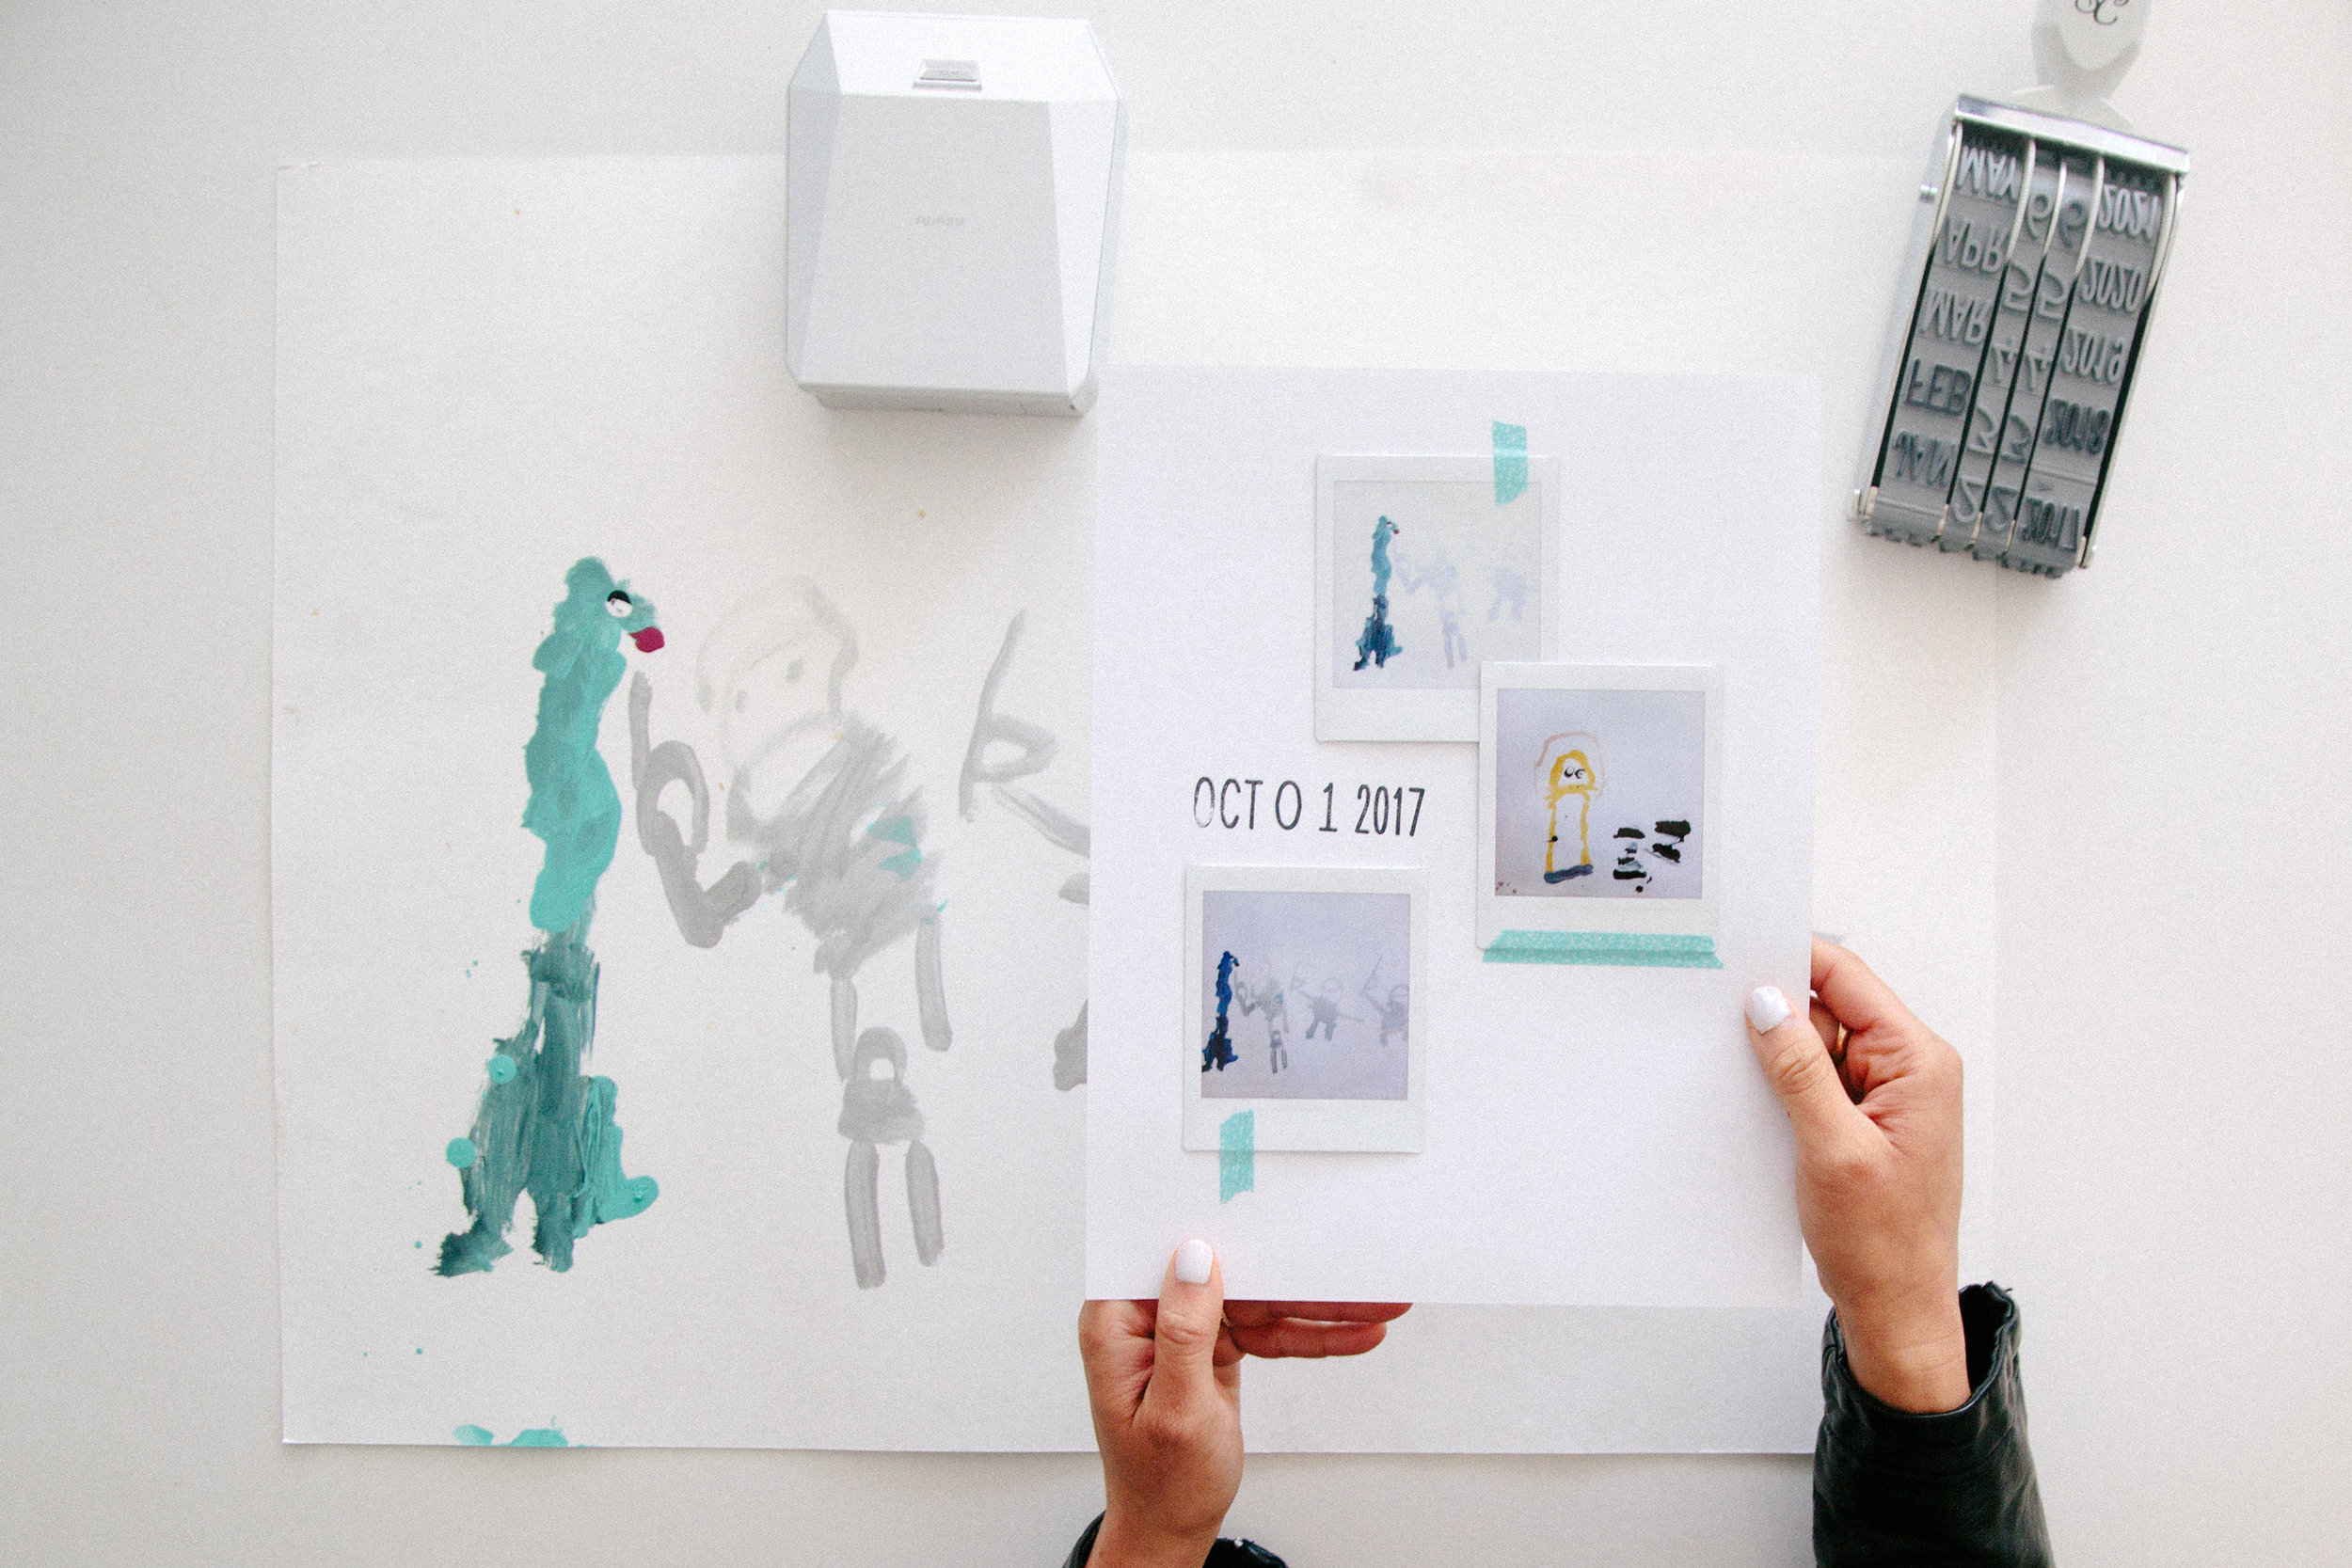
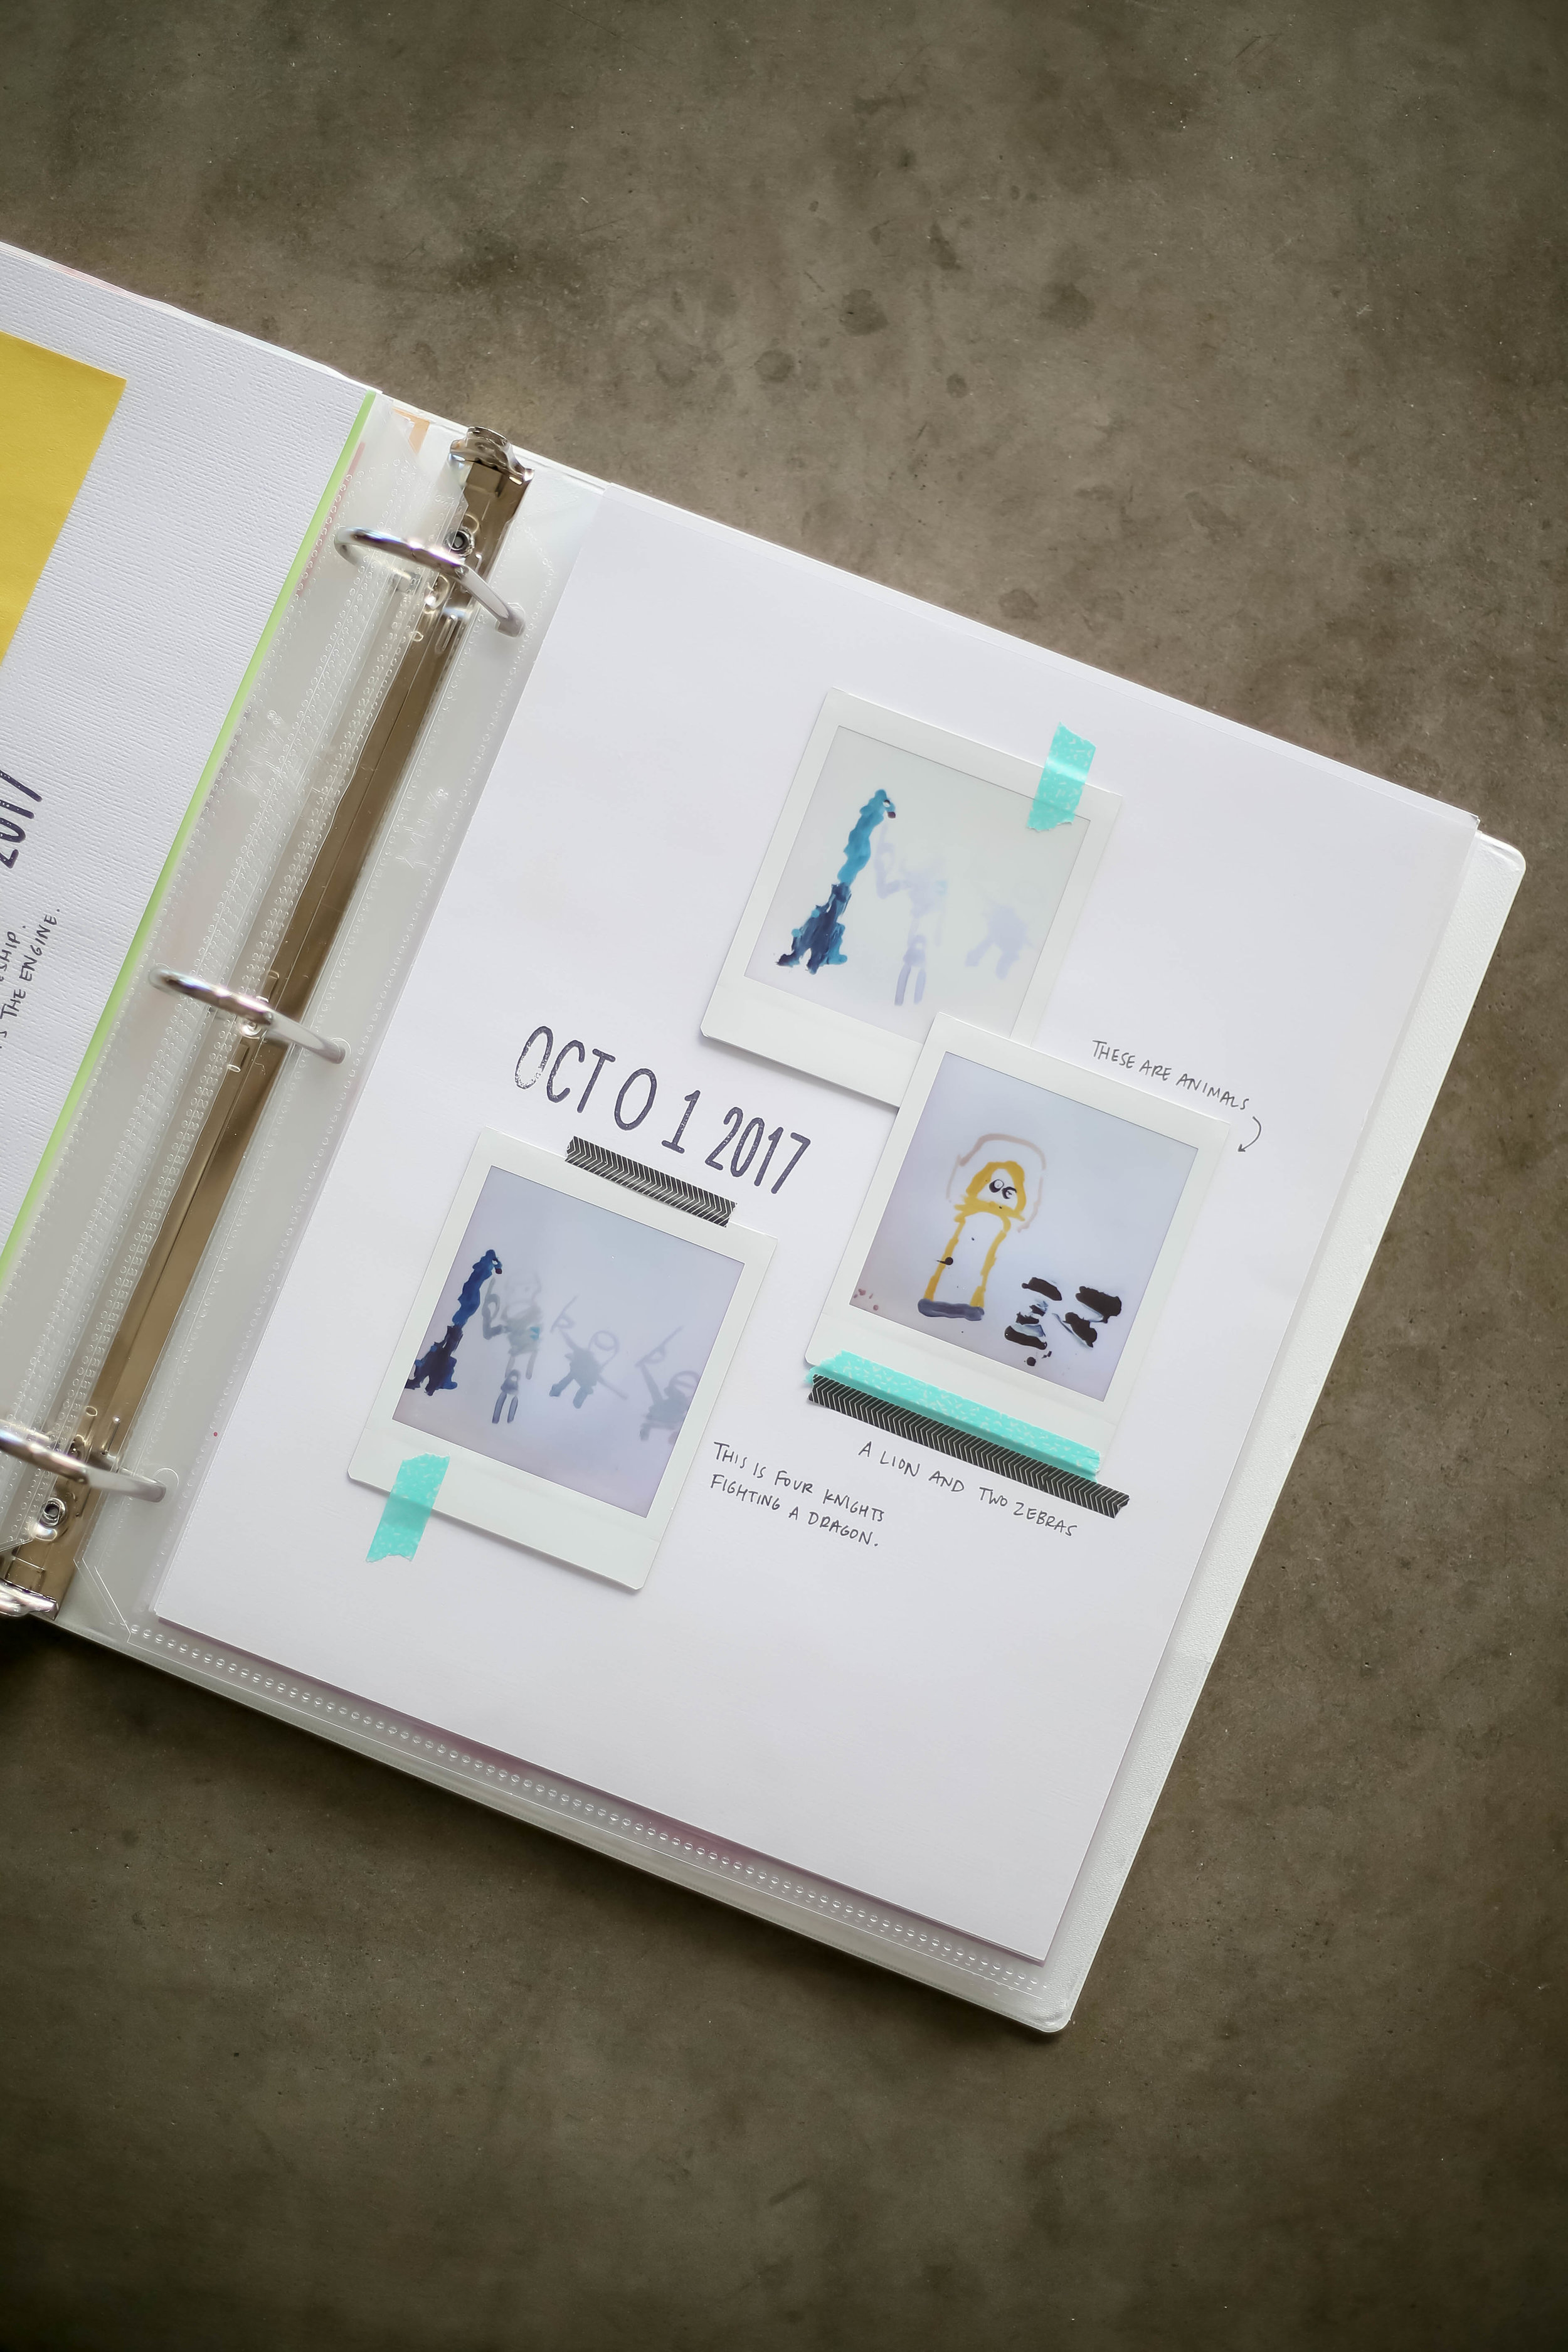
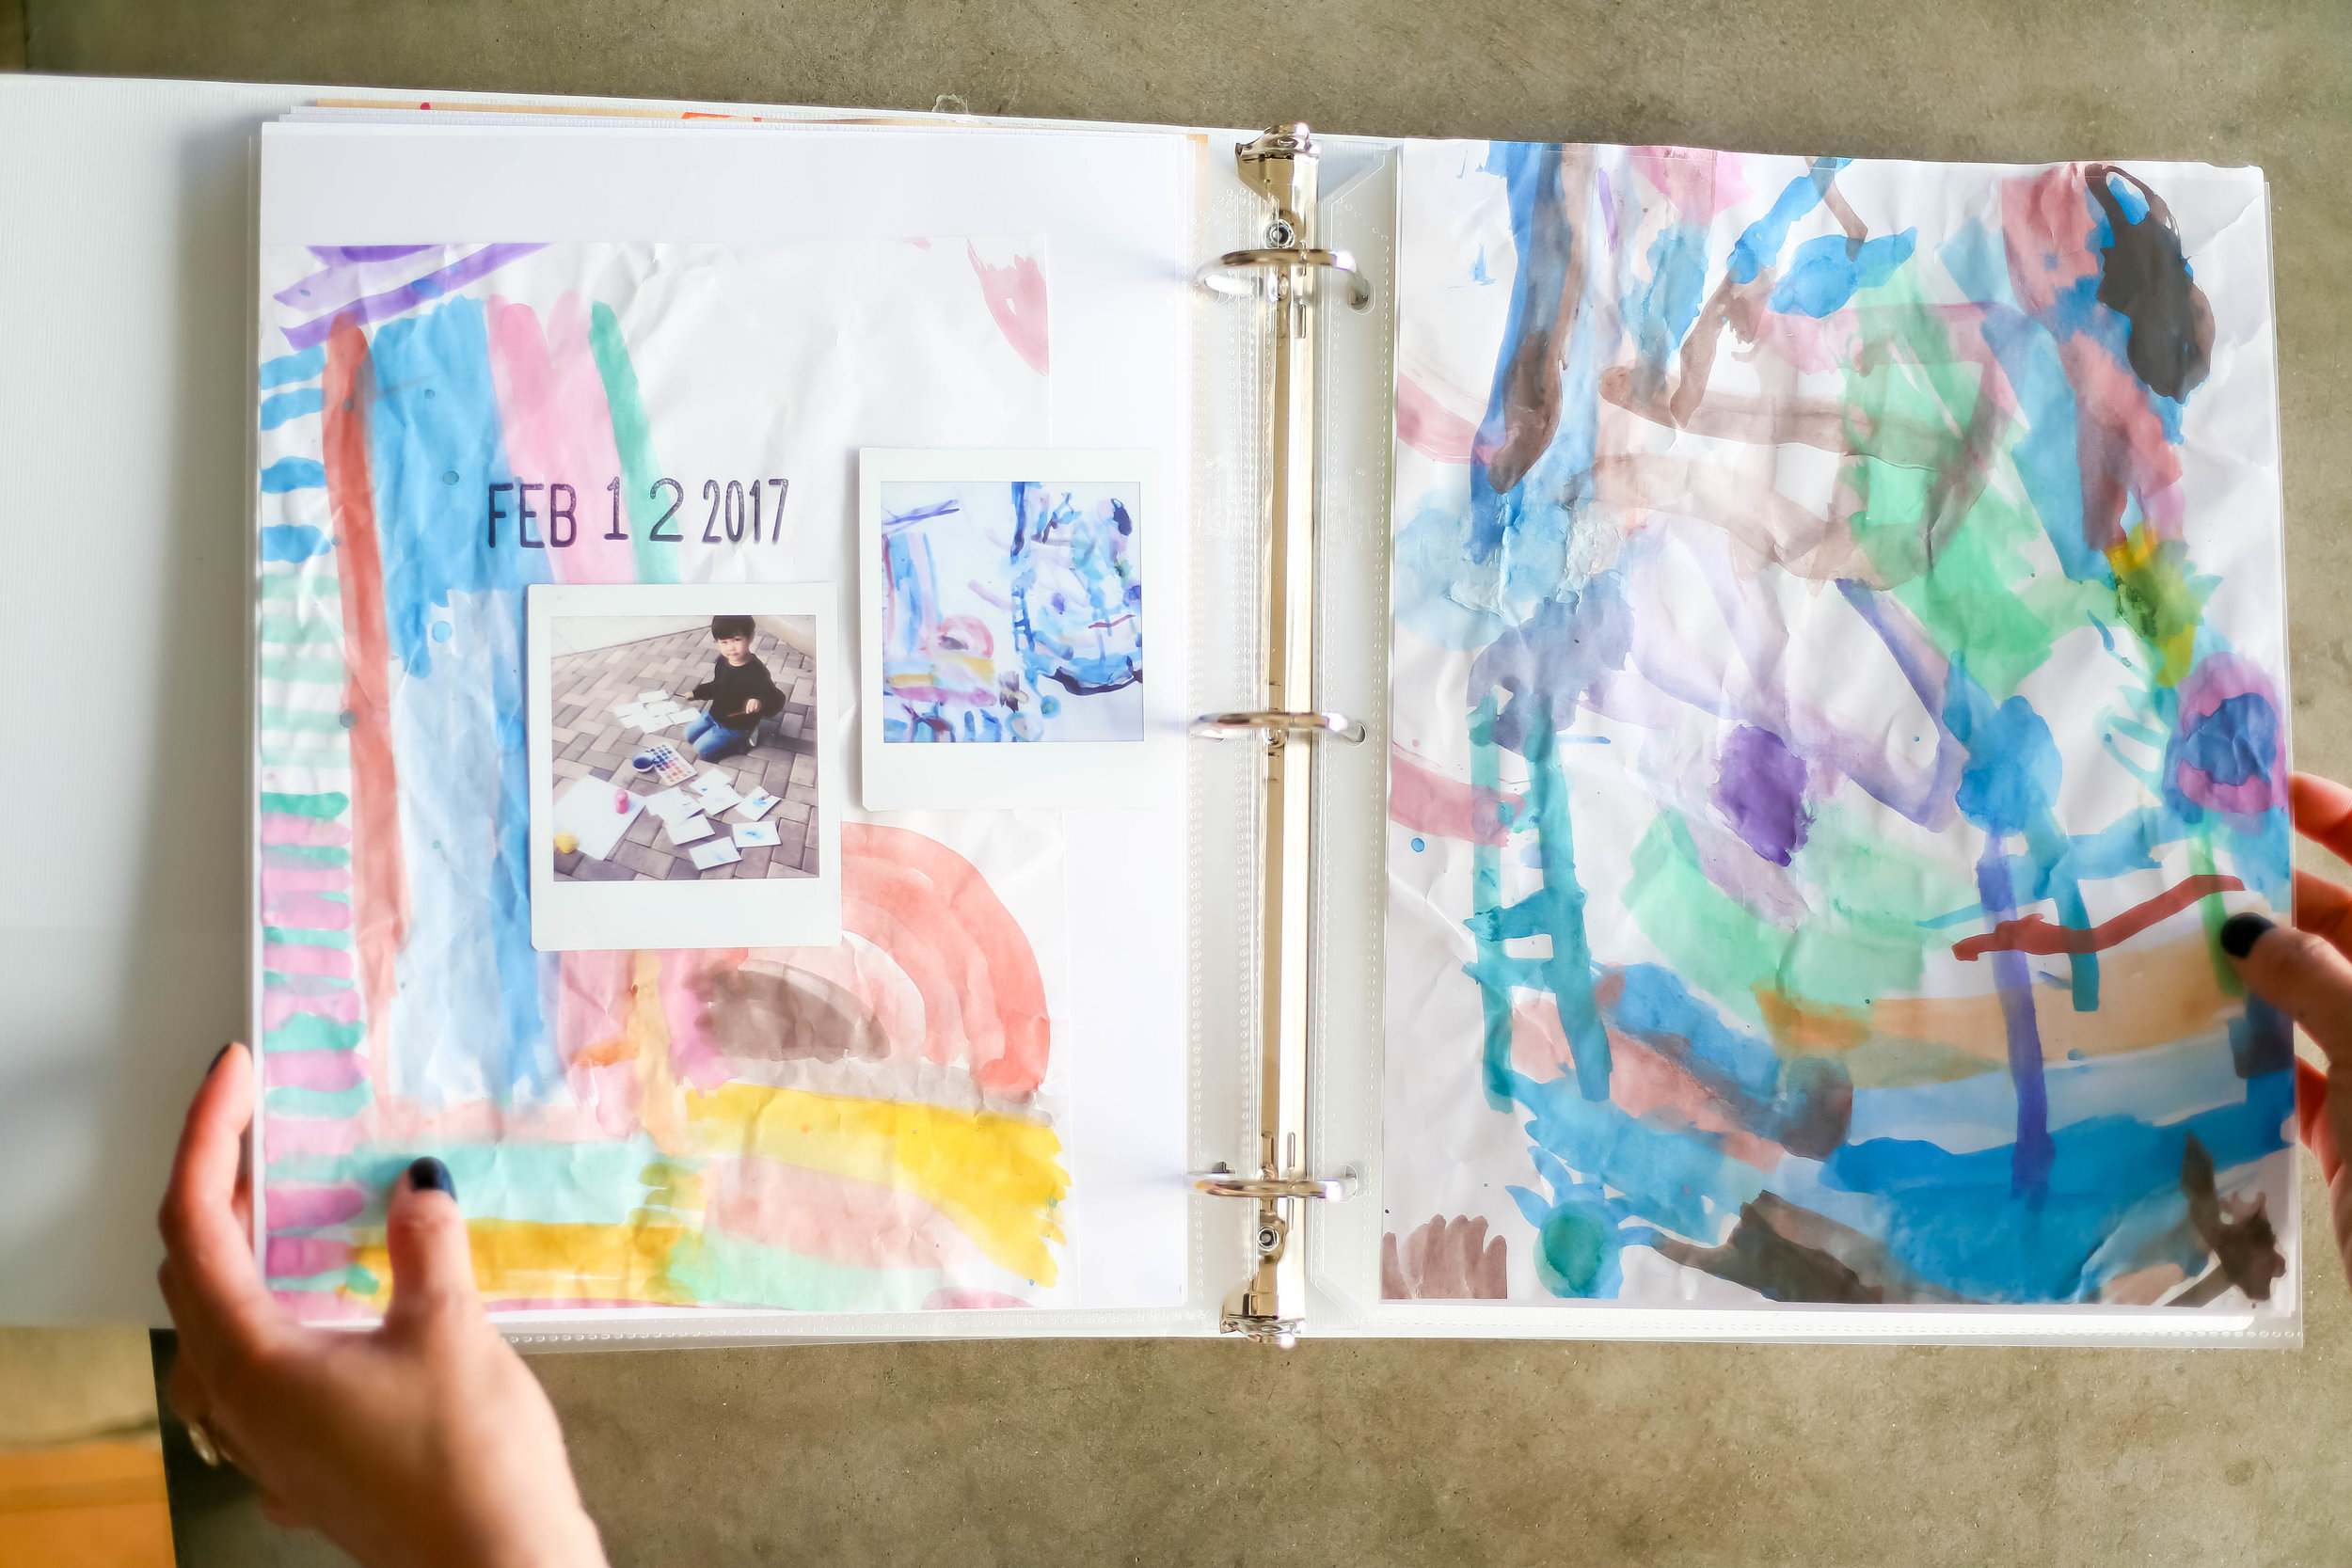
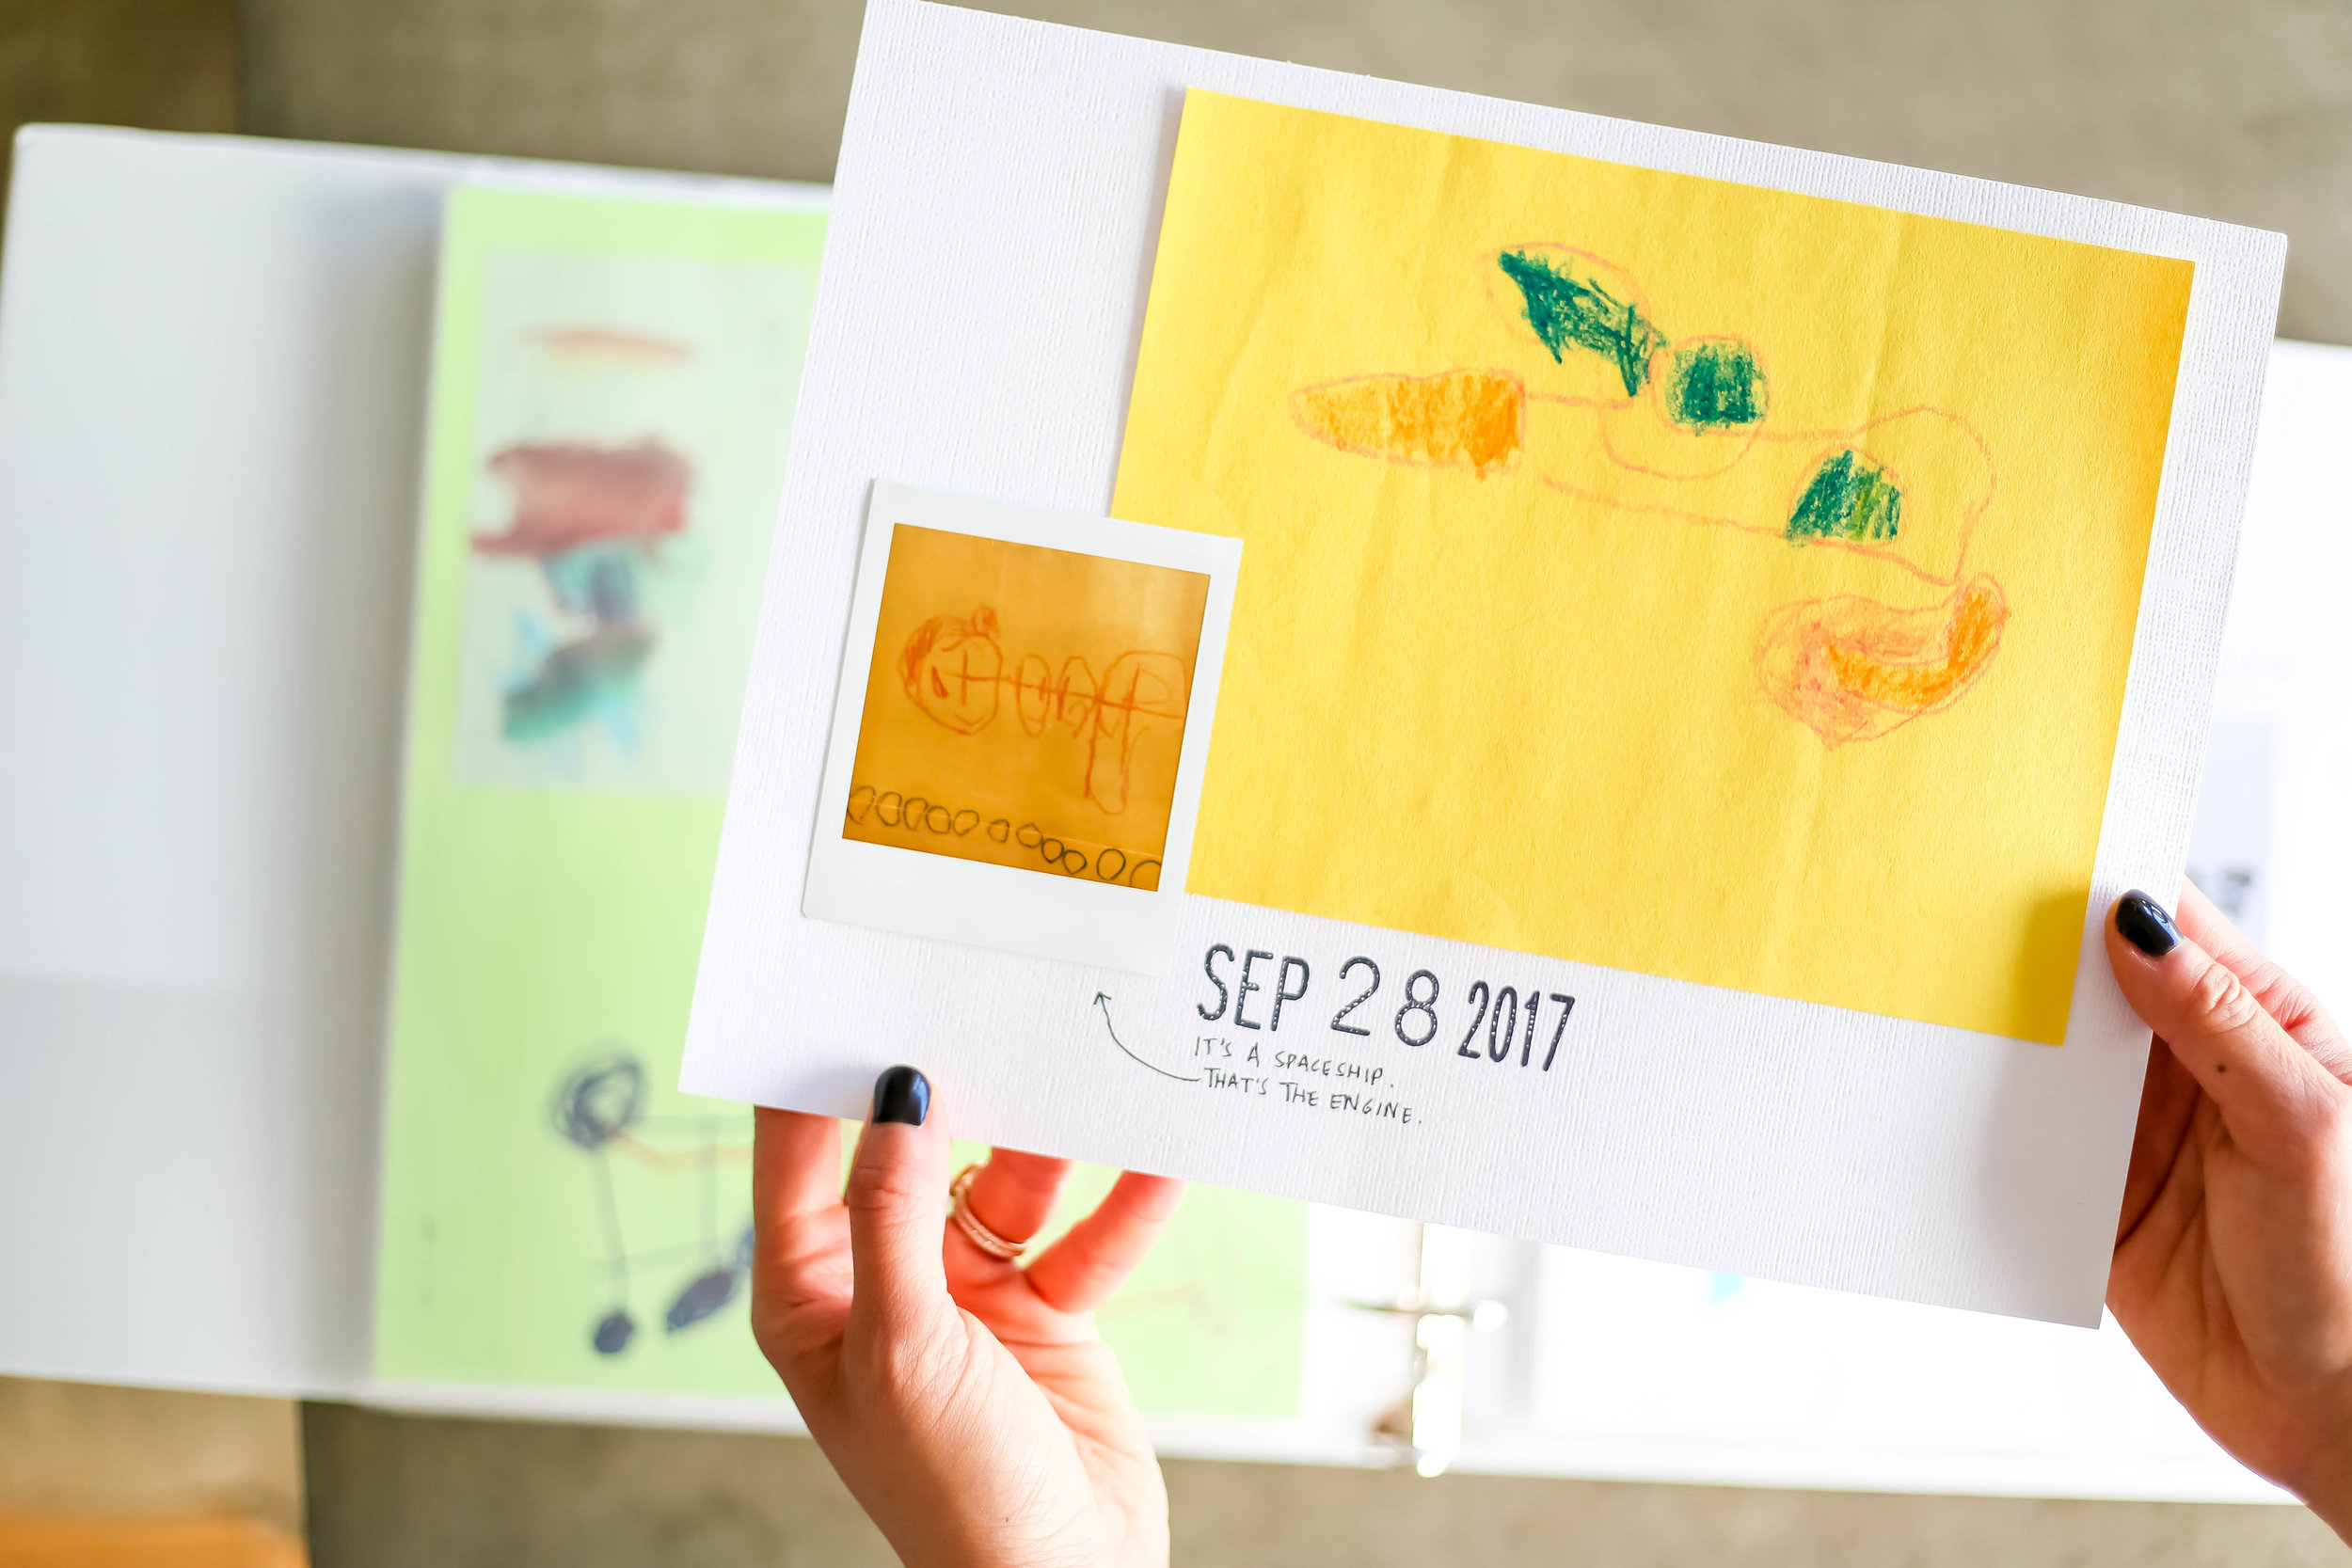
I recently pulled Jack’s art that we were storing in a plastic bin and gathered together all of our favorite pieces and paired them with corresponding photos of Jack creating the masterpiece or simply photographed the artwork with my phone and printed it with the FUJIFILM Instax® SHARE SP-3 SQ printer. The whole process took a few hours and minimal supplies, but the end result is a handmade book that my whole family will treasure forever. Here are some of my best tips for creating an Instax art binder:

 - Don’t overthink it. Start with your very favorite pieces of art; don’t worry about documenting your child’s entire portfolio. Grab a small handful of crafting supplies (I only used white cardstock, a large date stamp, some alphabet elements and washi tape) and limit yourself to using those items only. The key is to get it done (while having fun, of course!) so you can document your child’s masterpieces while freeing up valuable space in your home.

- Tackle the oversized. For all of those extra large or dimensional pieces of artwork that just don’t seem to fit anywhere, take a photo with your phone (in my case I am using an iPhone X) of the art in natural lighting. You could also trim the piece down to fit the parameters of the binder while still capturing the essence of your child’s creativity. Print the photo out with the Instax SP-3 printer wirelessly from your phone. Note that you’ll need to download the Instax SHARE app from iTunes or Google play. You can also edit photos or add text to the photos before printing. Back to the options for oversized pieces, the Instax printer has a “split” feature so you can get creative and print one photo on two prints! Once you have documented the art, consider using the oversize original for wrapping paper!

- Curate the best parts. One of my favorite aspects of creating an art binder is that I get to showcase my favorite elements of Jack’s artwork by cutting them out of the original and gluing them to the cardstock background paper. Then I ask Jack for a little insight into the meaning behind the art and I write down his thoughts next to each piece, if it wasn’t there already.

- Use the front and the back. You know when your child is really feeling inspired and they express their creativity on the front and backside of a single sheet of paper? That’s where the Instax comes in handy. You can take a photo of one side and then glue that side down in the book. Then you pair the photo with the reverse side of the art and now you can treasure the entire masterpiece in a single, one-dimensional space.

Kids Art Binder

- Take photos that represent the era. As much as I would love to have images of Jack creating every single piece of art, I just don’t. One of my most beloved pages features a questionnaire from Jack’s very first day of preschool that I paired with a photo of him taken on the same day. Being able to read his answers to basic questions (i.e. what’s your favorite movie?) and compare it to what he would say now is invaluable, plus his cute little baby face on the first day of school makes me swoon. If you don’t have the corresponding images to every piece of art, simply use a photo of them from that general time period and include it with the artwork. Remember that it’s more important to capture the essence of a moment rather than getting hung up on everything being exact.

Kids Art Binder
Kids Art Binder

- Make the book accessible. I love to think of my Instax art binder in the same way that I think of coffee table books; I want it to be readily available to anyone who wants to look at it.

Kids Art Binder

SUPPLIES: FUJIFILM Instax® SHARE SP-3 SQ printer | Binder | Page Protectors | Alphabet Stamps | Mega Date Stamp

This post is in collaboration with FUJIFILM, all ideas and opinions are my own. As always, my creative partners and I appreciate the support.